Author Archives: hpeyerl

By   July 1, 2025

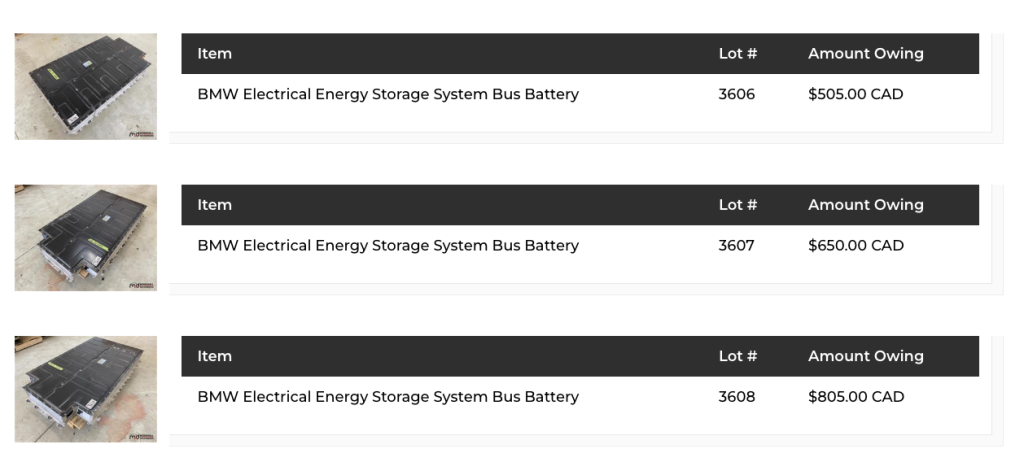
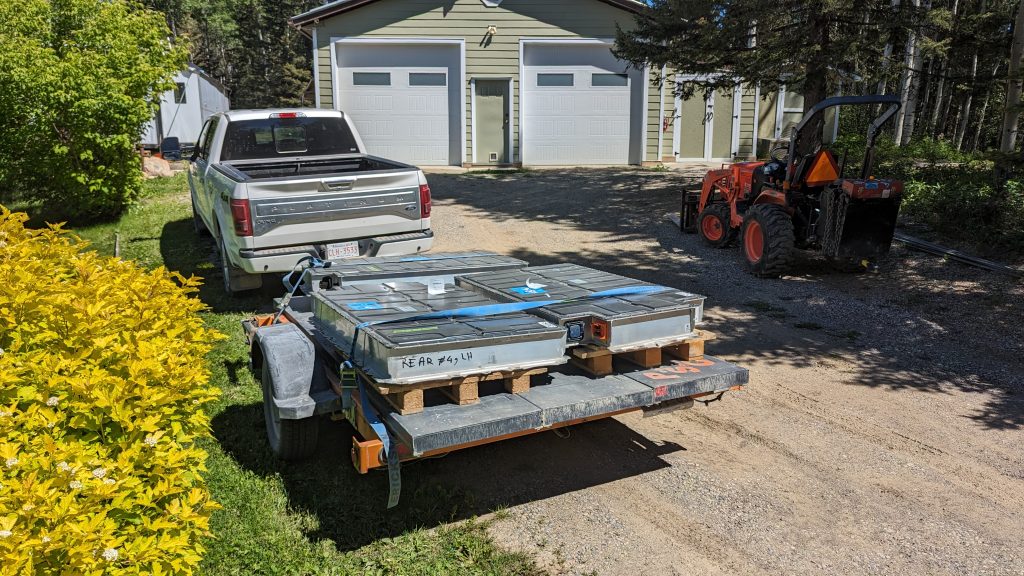
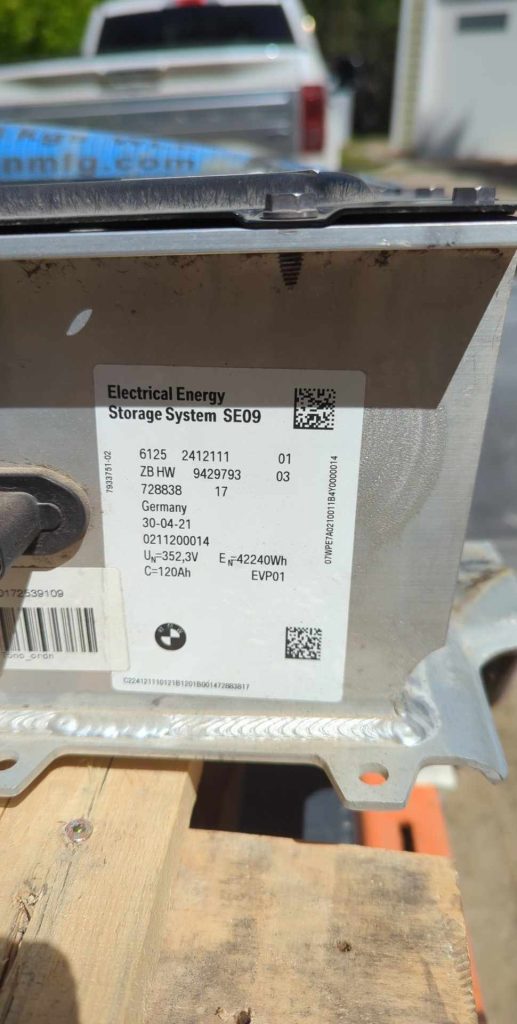
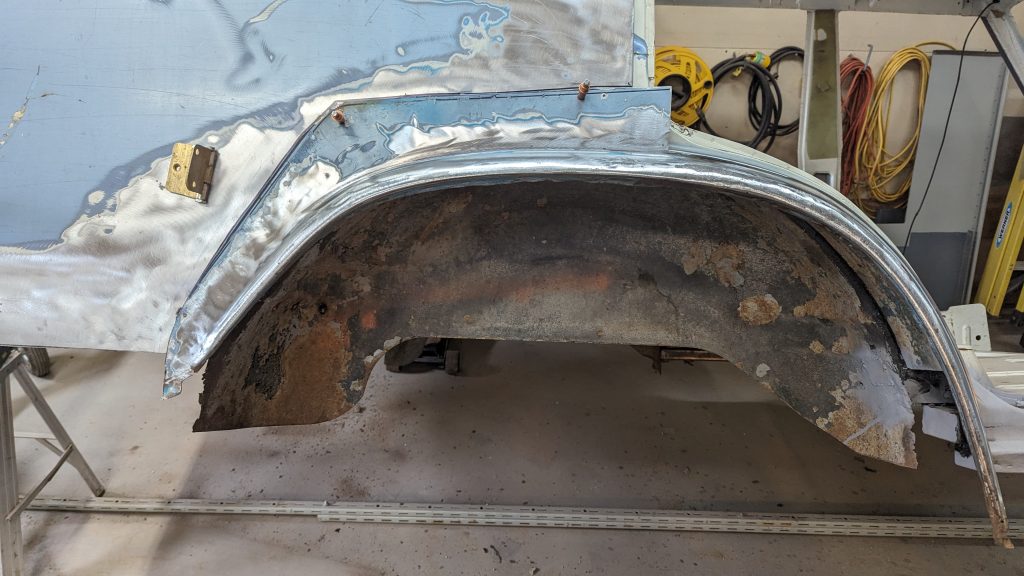
I’m procrastinating on rebuilding the rear quarters.   I’ve got 6 separate and not perfectly shaped pieces I’m trying to put together so I’m in avoidance mode.   Found some battery packs at auction.  42kwh packs from a 2021 BMW i3.


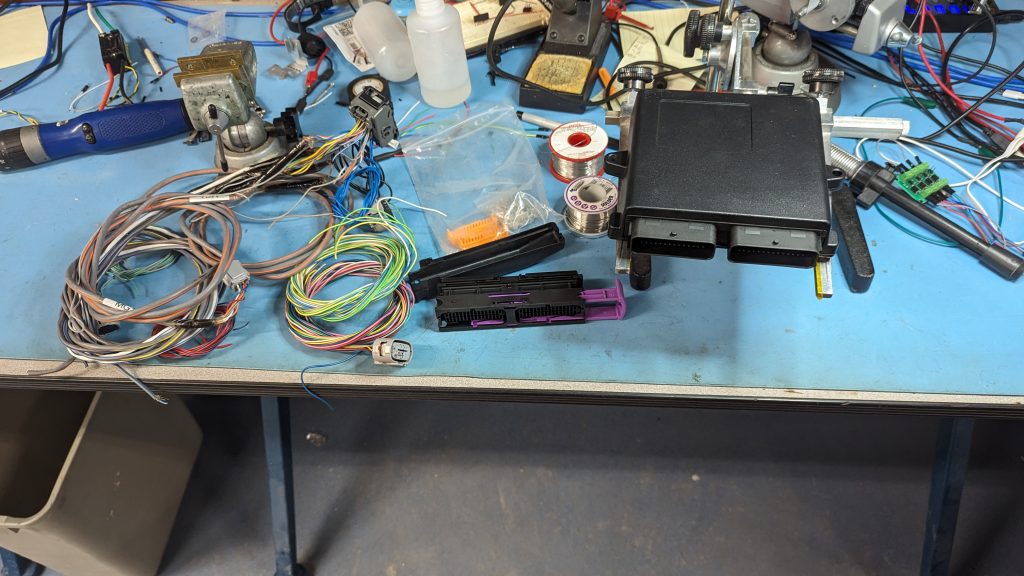
Also got around to getting the transmission spinning using a 33v33A bench supply as well as a 12v3A bench supply for the controller.

Click to watch a motor spin.

Welding, cutting, banging, lather, rinse, repeat

By   June 13, 2025

I picked up some decent-ish front fenders on our recent road trip which meant I could sacrifice my existing front fenders.  The front left fender wheel arch on the rear right quarter panel, fits not too bad.   Could stand to drop a little further at the back end and I’ll have to abbreviate the front end of the arch and blend it into my ‘rockers’.  See: “Not doing a museum level restoration”.

As far as the drivetrain part of the project goes, I’ve received the controller from Ireland, a case and connectors from Aliexpress, and an inverter wiring harness from California.   Also got a throttle pedal from a Honda Fit.  I need to start crimping pins and wiring up the controller and then I should be able to spin this thing up on the engine stand.

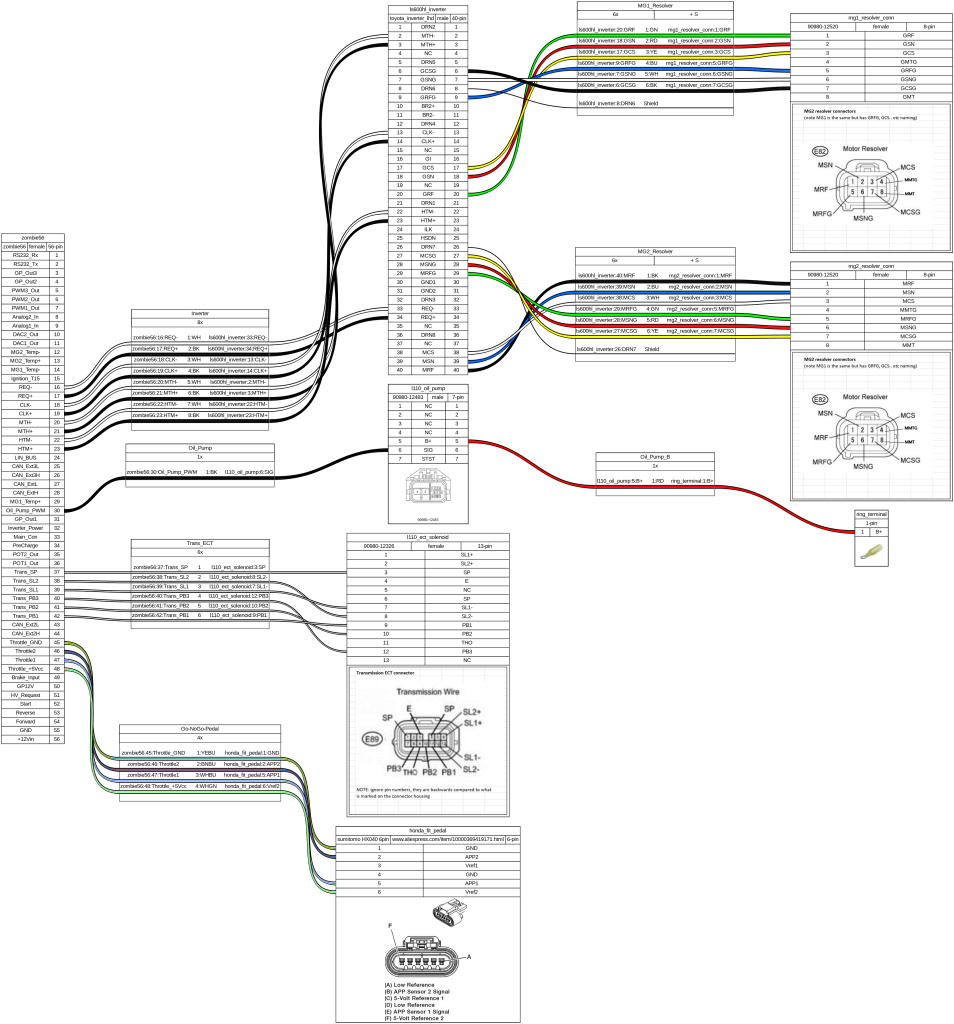
I’ve also started documenting the wiring connections between the inverter, controller, throttle pedal, and transmission.


Tedious welding.

By   May 12, 2025

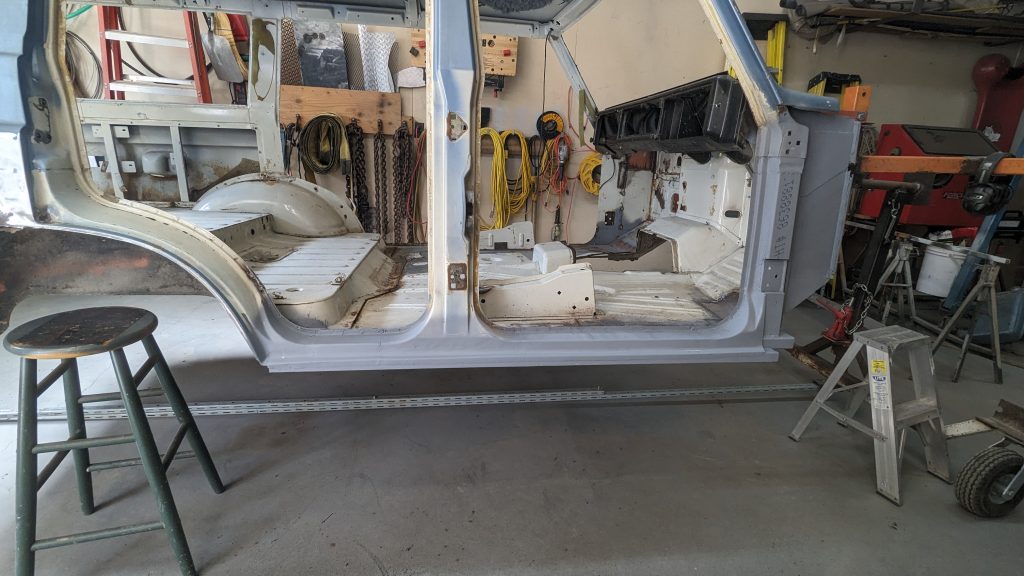
I remember when welding patches and rebuilding quarter panels was fun.  The end goal of this truck is not a restoration, but merely to have a structurally solid with non-rust-bucket vibe.  As such, I can take a few liberties with how things are put back together, but it’s no less tedious.

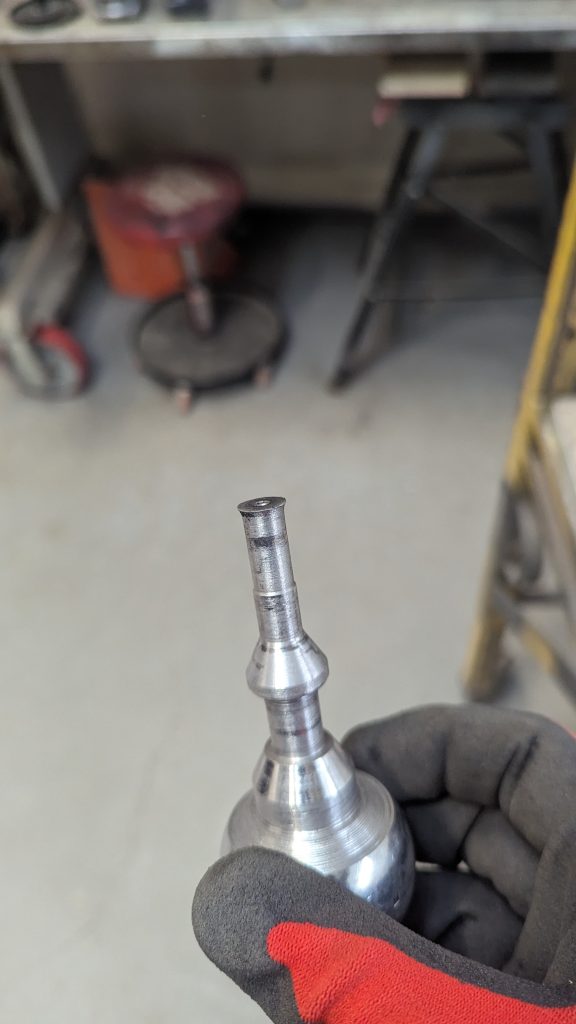
Rebuilding the wheel-arches is another thing altogether.  I’m trying my hand at some hammer forming with a wood/metal buck but I don’t think that’s going to turn out well.   I used a 1-7/8″ trailer hitch ball to make a forming attachment for my air-hammer.  Unfortunately, it wasn’t hardened so it just mushroomed at the end and also hardly made a dent in the sheet metal.  Back to the drawing board.

Drivetrain.

By   May 8, 2025

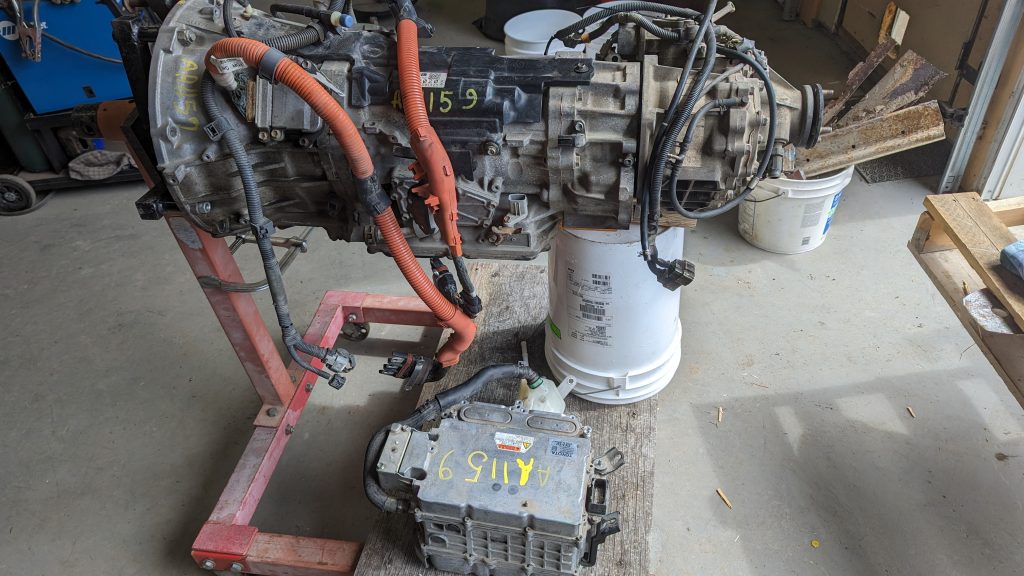
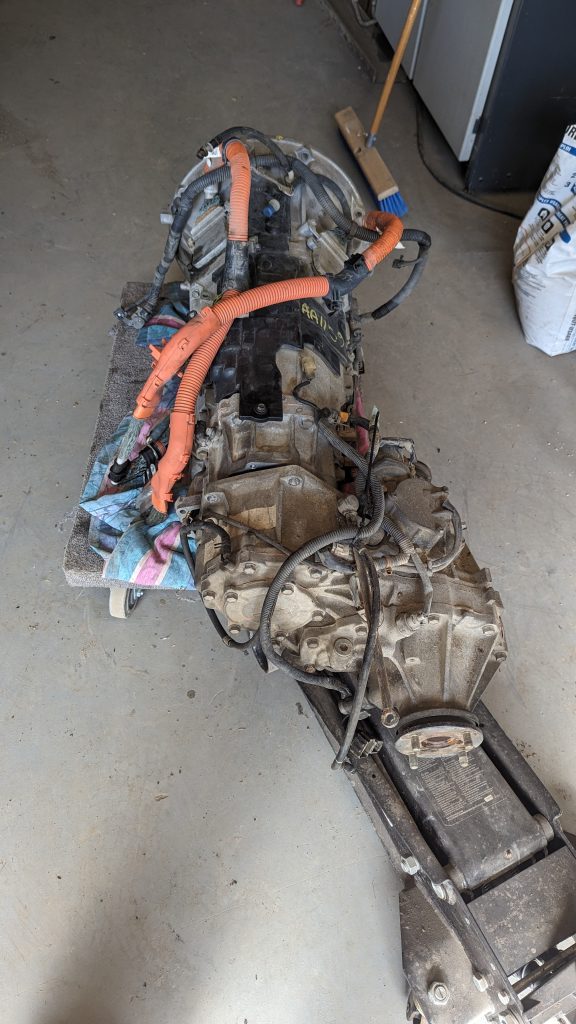
The pieces of my drivetrain are coming together.  What you see there is the transmission out of a Lexus LS600HL (known as an L110F), plus the transfer case from a 1992 Toyota Land Cruiser 80 series (known as an HF1A), as well as the Inverter from the Lexus LS600HL (bottom). The high voltage leads from the battery pack (I don’t have one yet) go into the inverter, and the two orange leads from the transmission plug into the inverter.  There is a separate controller (I also don’t have yet) that will talk to the inverter and tell the transmission what to do.

There will be nothing connected to the front (left side of this photo).  That’s where the V8 gas engine used to be.


By   April 18, 2025

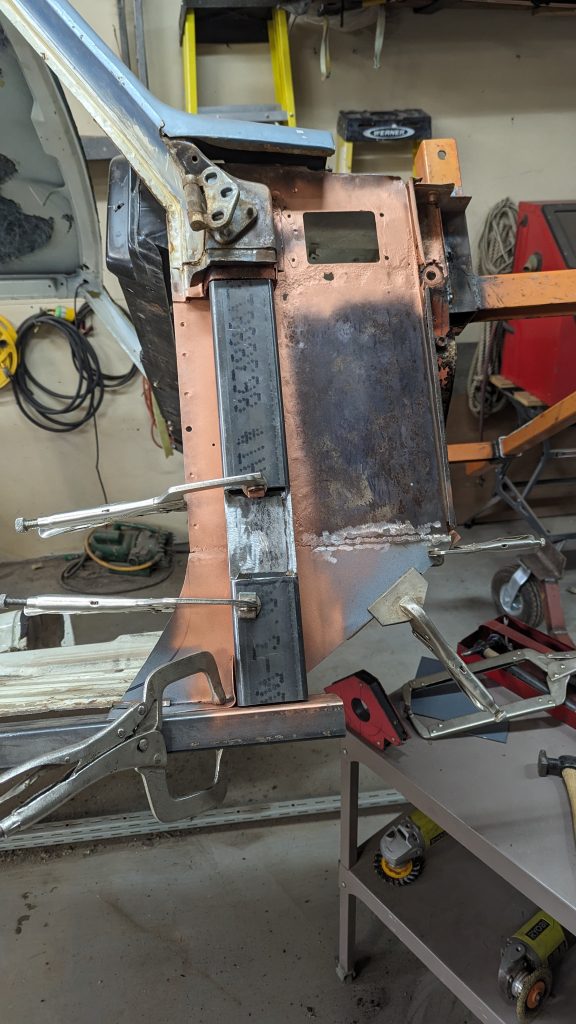
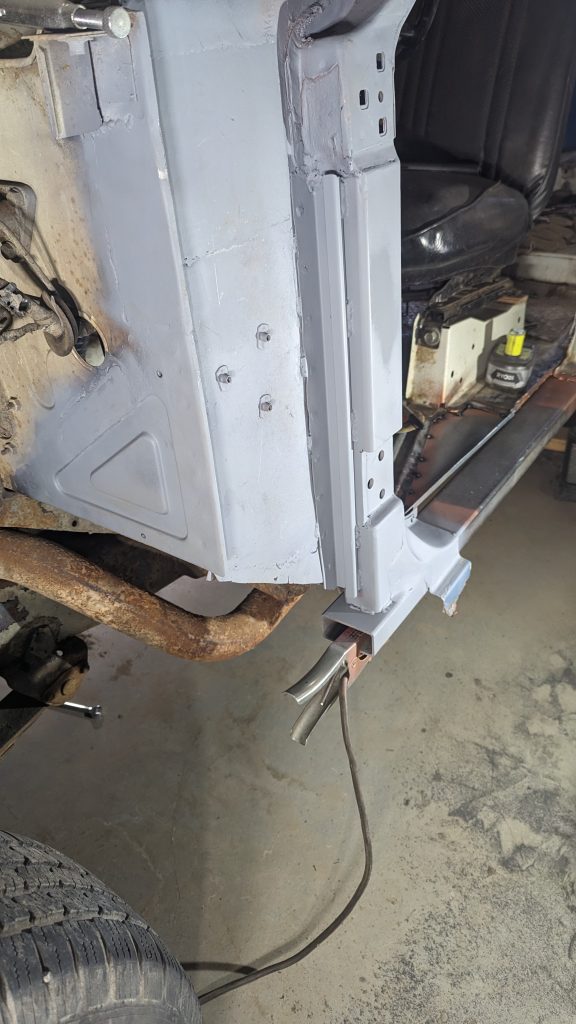
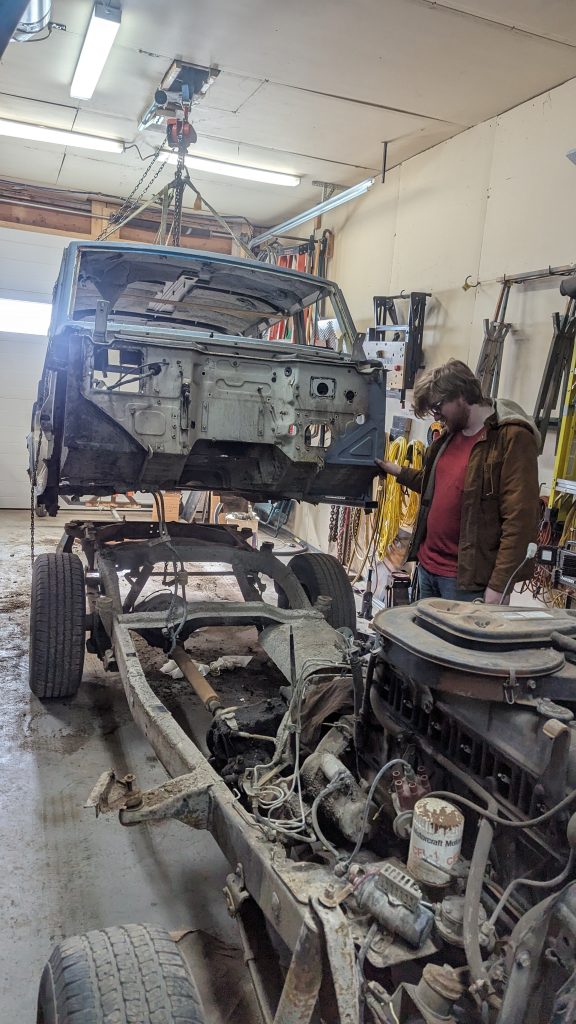
Work continues on the FJ-55.  The passenger side A-pillar is coming together.  It’s on the rotisserie now and I seem to have acquired an L110F transmission.  An HF1A seems to fit on the back.


1976 Land Cruiser FJ-55 project.

By   April 6, 2025

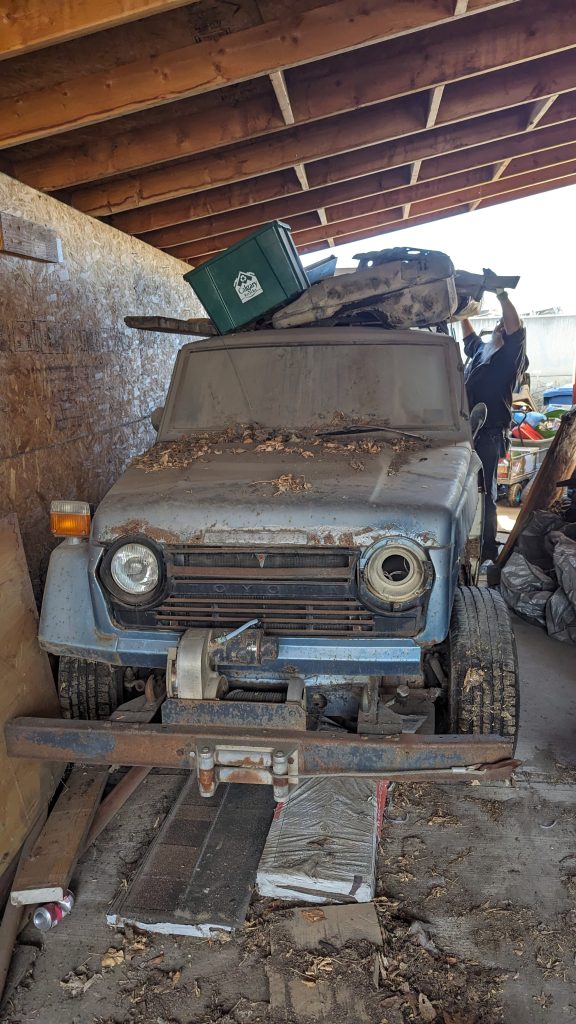
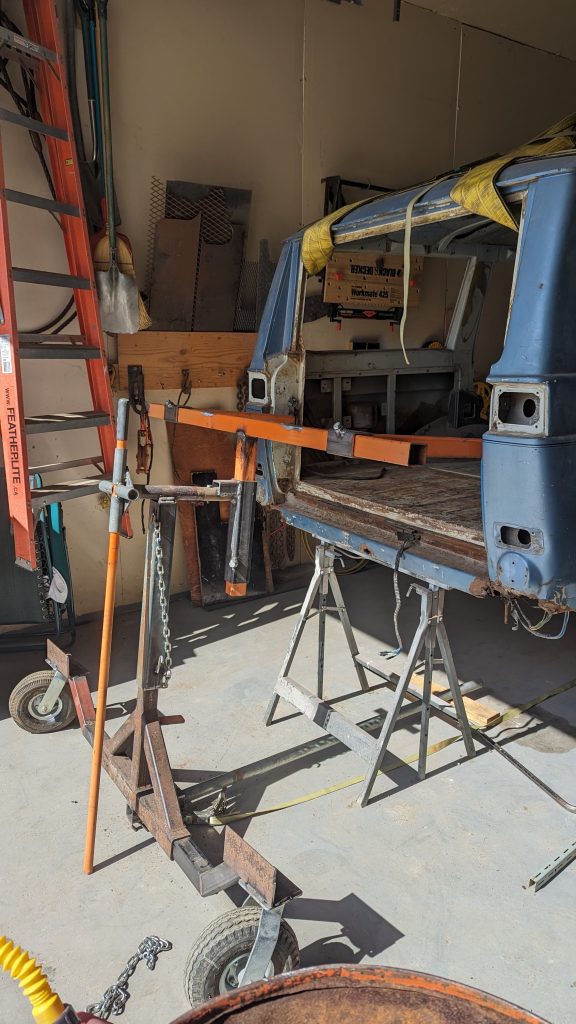
A friend offered me a truck that he’s had on his TODO list for over 20 years.  This truck has been sitting in his car-port, covered in various bits of detritus.  After almost an hour of excavation, I was finally able to see the truck.  Code-name:  Terrible Idea.


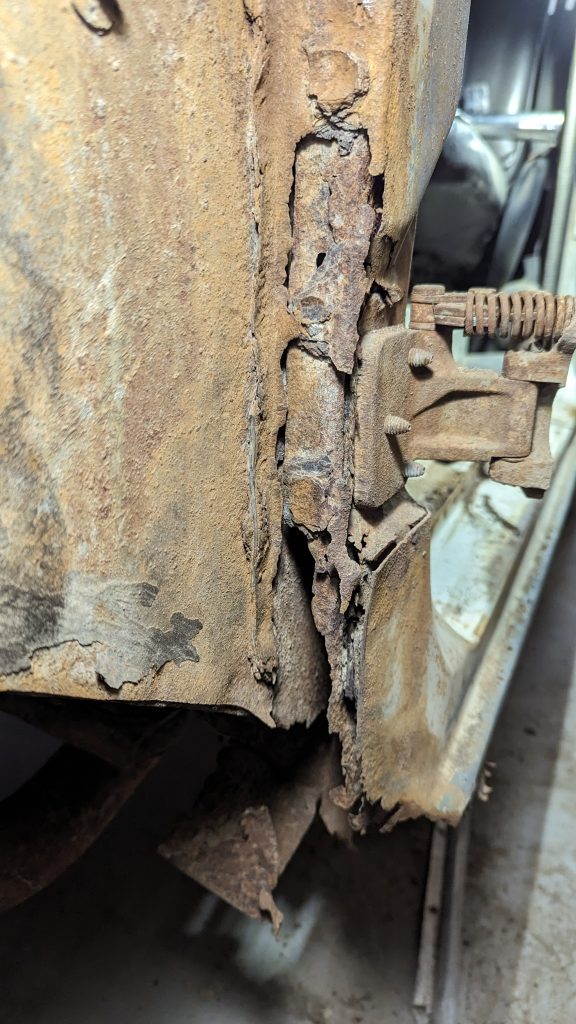
What are my plans for it?  I’ll save that for a later post because I’m not entirely clear yet.  First order of business is to deal with rust and missing metal.  Its biggest problem is the A-pillars that the front doors are mounted to are completely rotted.

The first decision I’ve made is not to do a museum level restoration.  I want a truck that looks cool and still looks like an FJ-55 but a purist would immediately know something has been done to it.

First order of business was to tackle one of the A-pillars to see how doable it is.  If those are too difficult, then the project is a no-go for me.  Fortunately, they proved doable given the technology I possessed.  I built the A-pillar out of some 2x3x.188 rectangular tubing.  I mated it to some 1.5x3x.250 rectangular tubing to replace the almost completely missing rocker panels.  I did a floor patch while I was in there.  Lots of spot welds to drill out.  Not sure I’ll go to that extend on the passenger side.

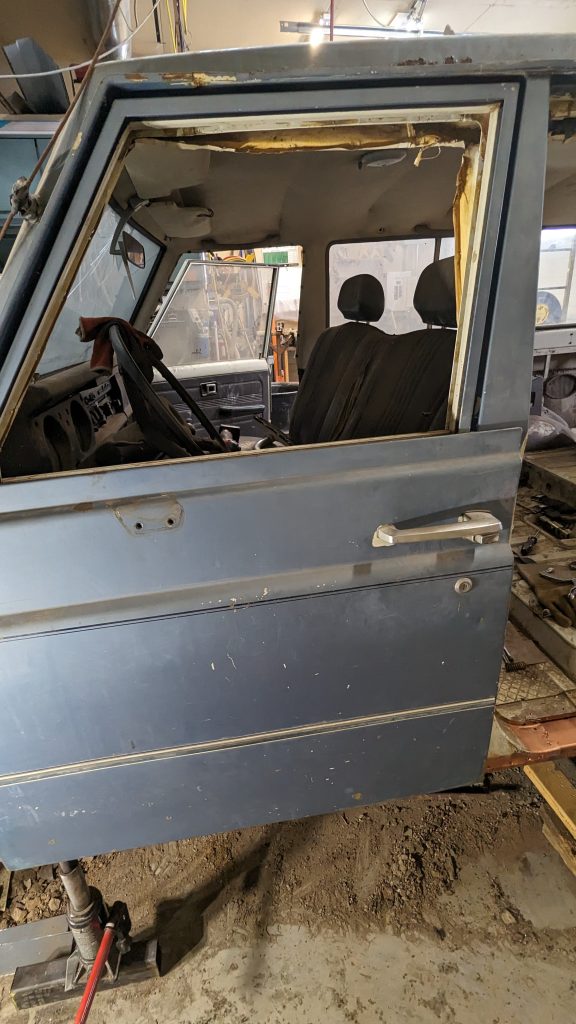
The drivers side front door mounts perfectly and lines up nicely and opens/closes cleanly.   This project has now passed the ‘doable’ gate.

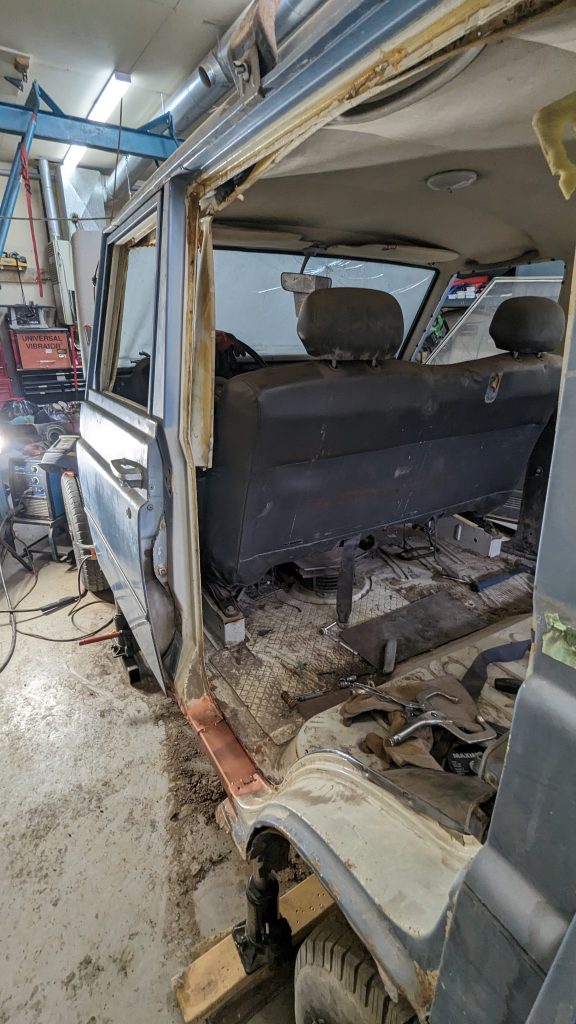
Next order of business was to dismantle the interior and build a rotisserie.

rat-ratgdo – Home Assistant.

By   November 25, 2024

My truck is too long.  The Ford website says 20’3″.  The space between the front and rear garage doors is 21′ even.  That doesn’t leave a lot of margin for error when driving in.

Enter Rat-ratgdo. This is a board that can link with Liftmaster/Chamberlain Security 2.0 garage door openers.  It can read the state of the door, sensors, and control the door.  With ESPHome firmware, it links easily to HomeAssistant.

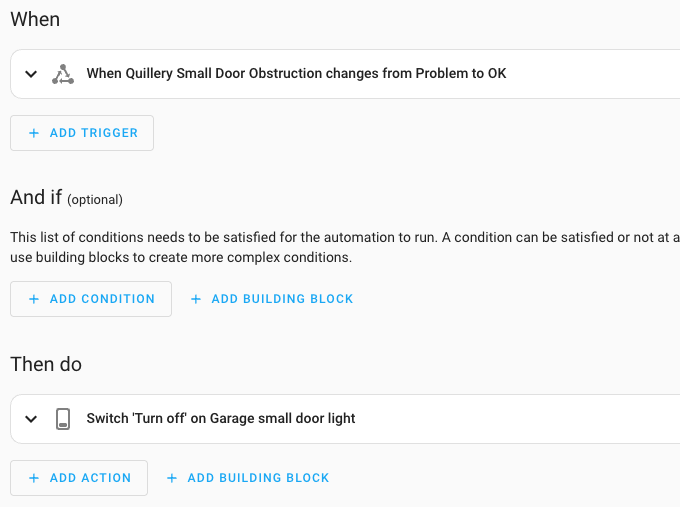
I moved the obstruction sensor for the rear door up to the height of my bumper.  When the bumper clears, the rat-ratgdo obstruction sensor switches from “Problem” to “OK”.

This allows me to create an automation:

When I drive in the back door, a light in the ceiling turns on as soon as I block the obstruction sensors and turns off again when the sensors are clear.  If the light doesn’t turn on when I drive in, then I know that HomeAssistant isn’t working so then I just have to look in my rear view mirror and watch the blinking LED of the obstruction sensors which is slightly more error prone.

Re-create proxmox containers and VM’s from existing raw images.

By   November 20, 2024
  • Find your backups.
  • Extract pct.conf from backups
    • tar xvf /mnt2/mpv-pve/dump/vzdump-lxc-101-2024_11_16-00_03_50.tar.lzo ./etc/vzdump
  • Create null_template.tar.gz
for I in 105 103 102 101; do cat $I/etc/vzdump/pct.conf | grep -v ^lxc | grep -v "^#" | sed -e 's/^/\-/' -e 's/: / /' | xargs pct create $I /mnt/pve/nfs-beernas-containers/template/cache/null_template.tar.gz; done
for I in 100 120 121 122; do mkdir -p /tmp/$I; lzop -dc vzdump-qemu-$I-*.lzo | vma config - > /tmp/$I/$I.conf; done
for I in 100 120 121 122; do cat /tmp/$I/$I.conf | grep -v '#' | sed -e 's/: / /' -e 's/^/\-/' | xargs qm create $I; done

…and to avoid this pain in the future:

5 0 * * 0 touch /mnt/pve/nfs-beernas-backups/.timestamp
0 0 * * 0 find /mnt/pve/nfs-beernas-backups -name config.dump.* \! -newer /mnt/pve/nfs-beernas-backups/.timestamp -print | xargs rm
0 0 * * * sqlite3 /var/lib/pve-cluster/config.db .dump > /mnt/pve/nfs-beernas-backups/config.dump.$(date --utc +%Z%Y%m%d%H%M%S).sql

Faulty Phillips dimmable bulbs.

By   October 7, 2024

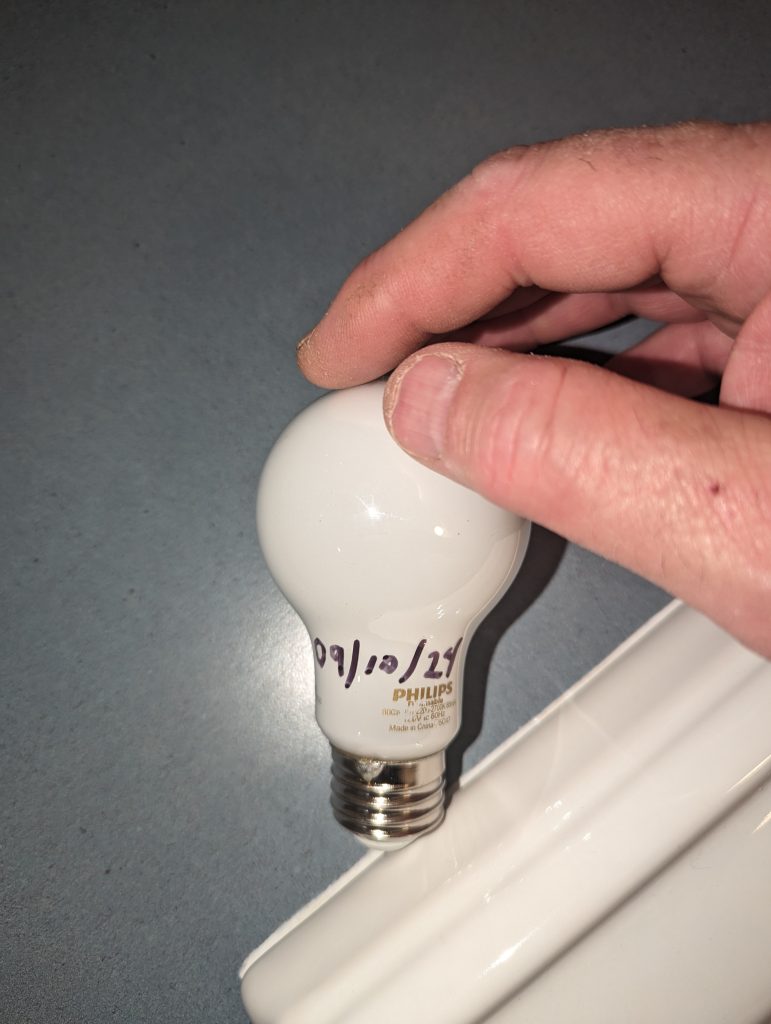
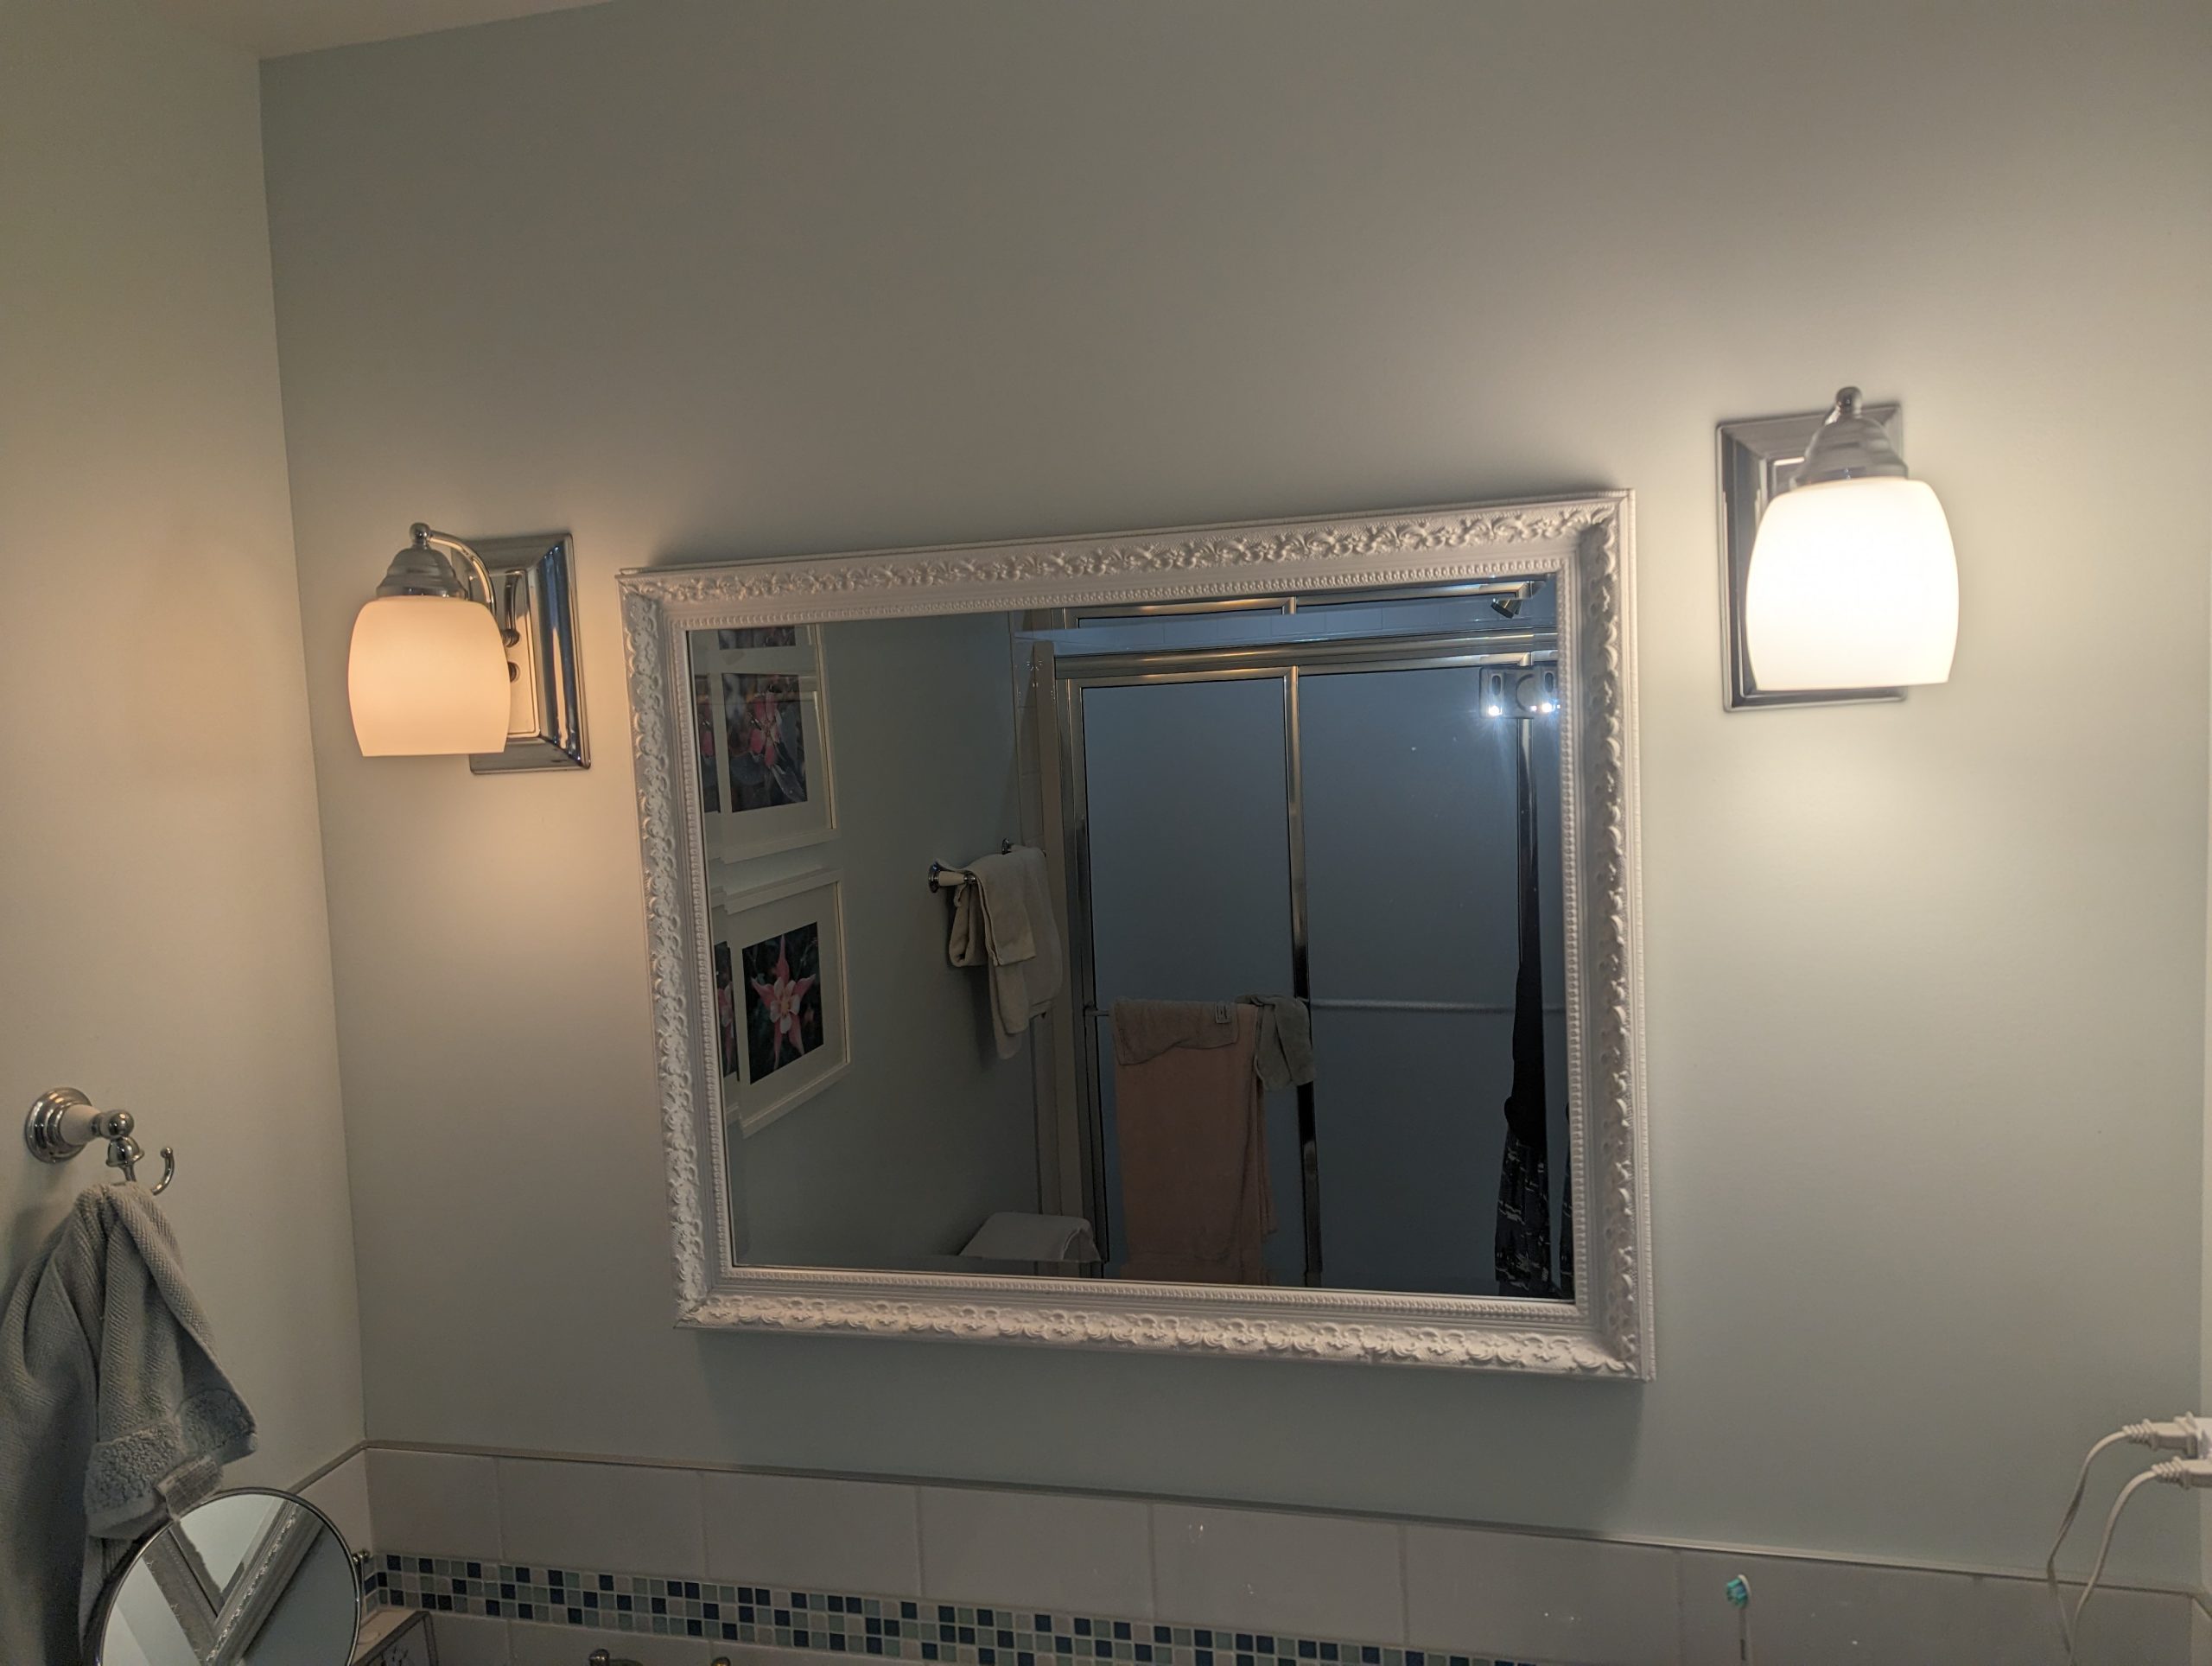
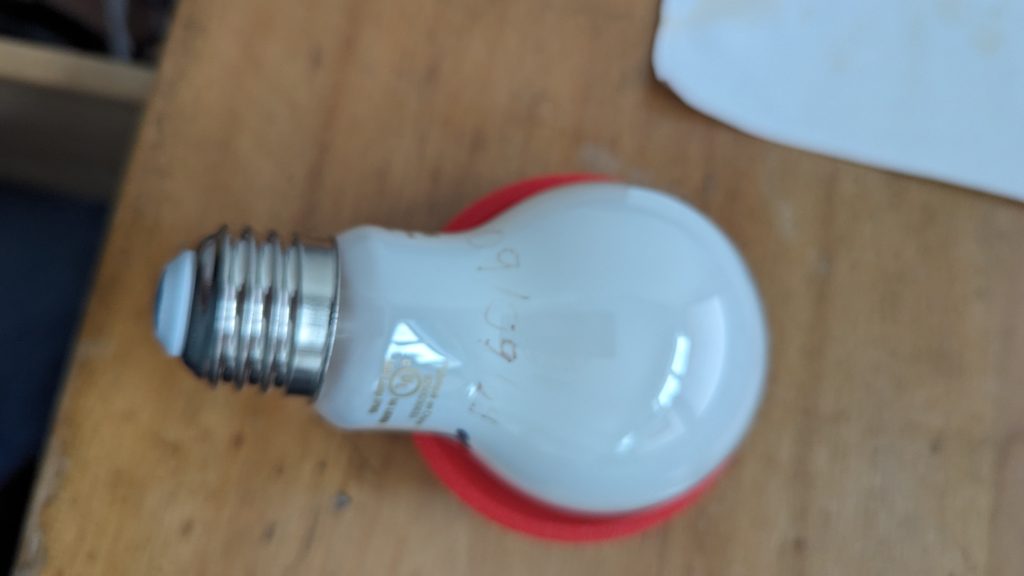
Our bathrooms have dimmable LED bulbs in open fixtures.  One of the bathrooms has been experiencing bulb failures after a very short period of time.  I started tracking the failures and it’s approximately 3-4 weeks between failures.  The failure mode is the bulb will suddenly become very dim and possibly occasionally flicker; even at full brightness setting.

I tried changing the dimmer (from a Leviton LED compatible to a Lutron LED compatible) and that didn’t prolong the bulb life.  I started marking the bulbs with sharpie when I installed them and the last 3 bulbs failed on:

  • 7/18/2024
  • 8/8/2024
  • 9/10/2024

The two bathrooms have the same fixtures and dimmers so why was it only in one bathroom that this started happening?  Turns out because the other bathroom also has Phillips dimmable bulbs but they’re an older model.  (The type that has a plastic base with a plastic globe glued to the base).  The new type are all glass so the electronics are inside the edison fixture.

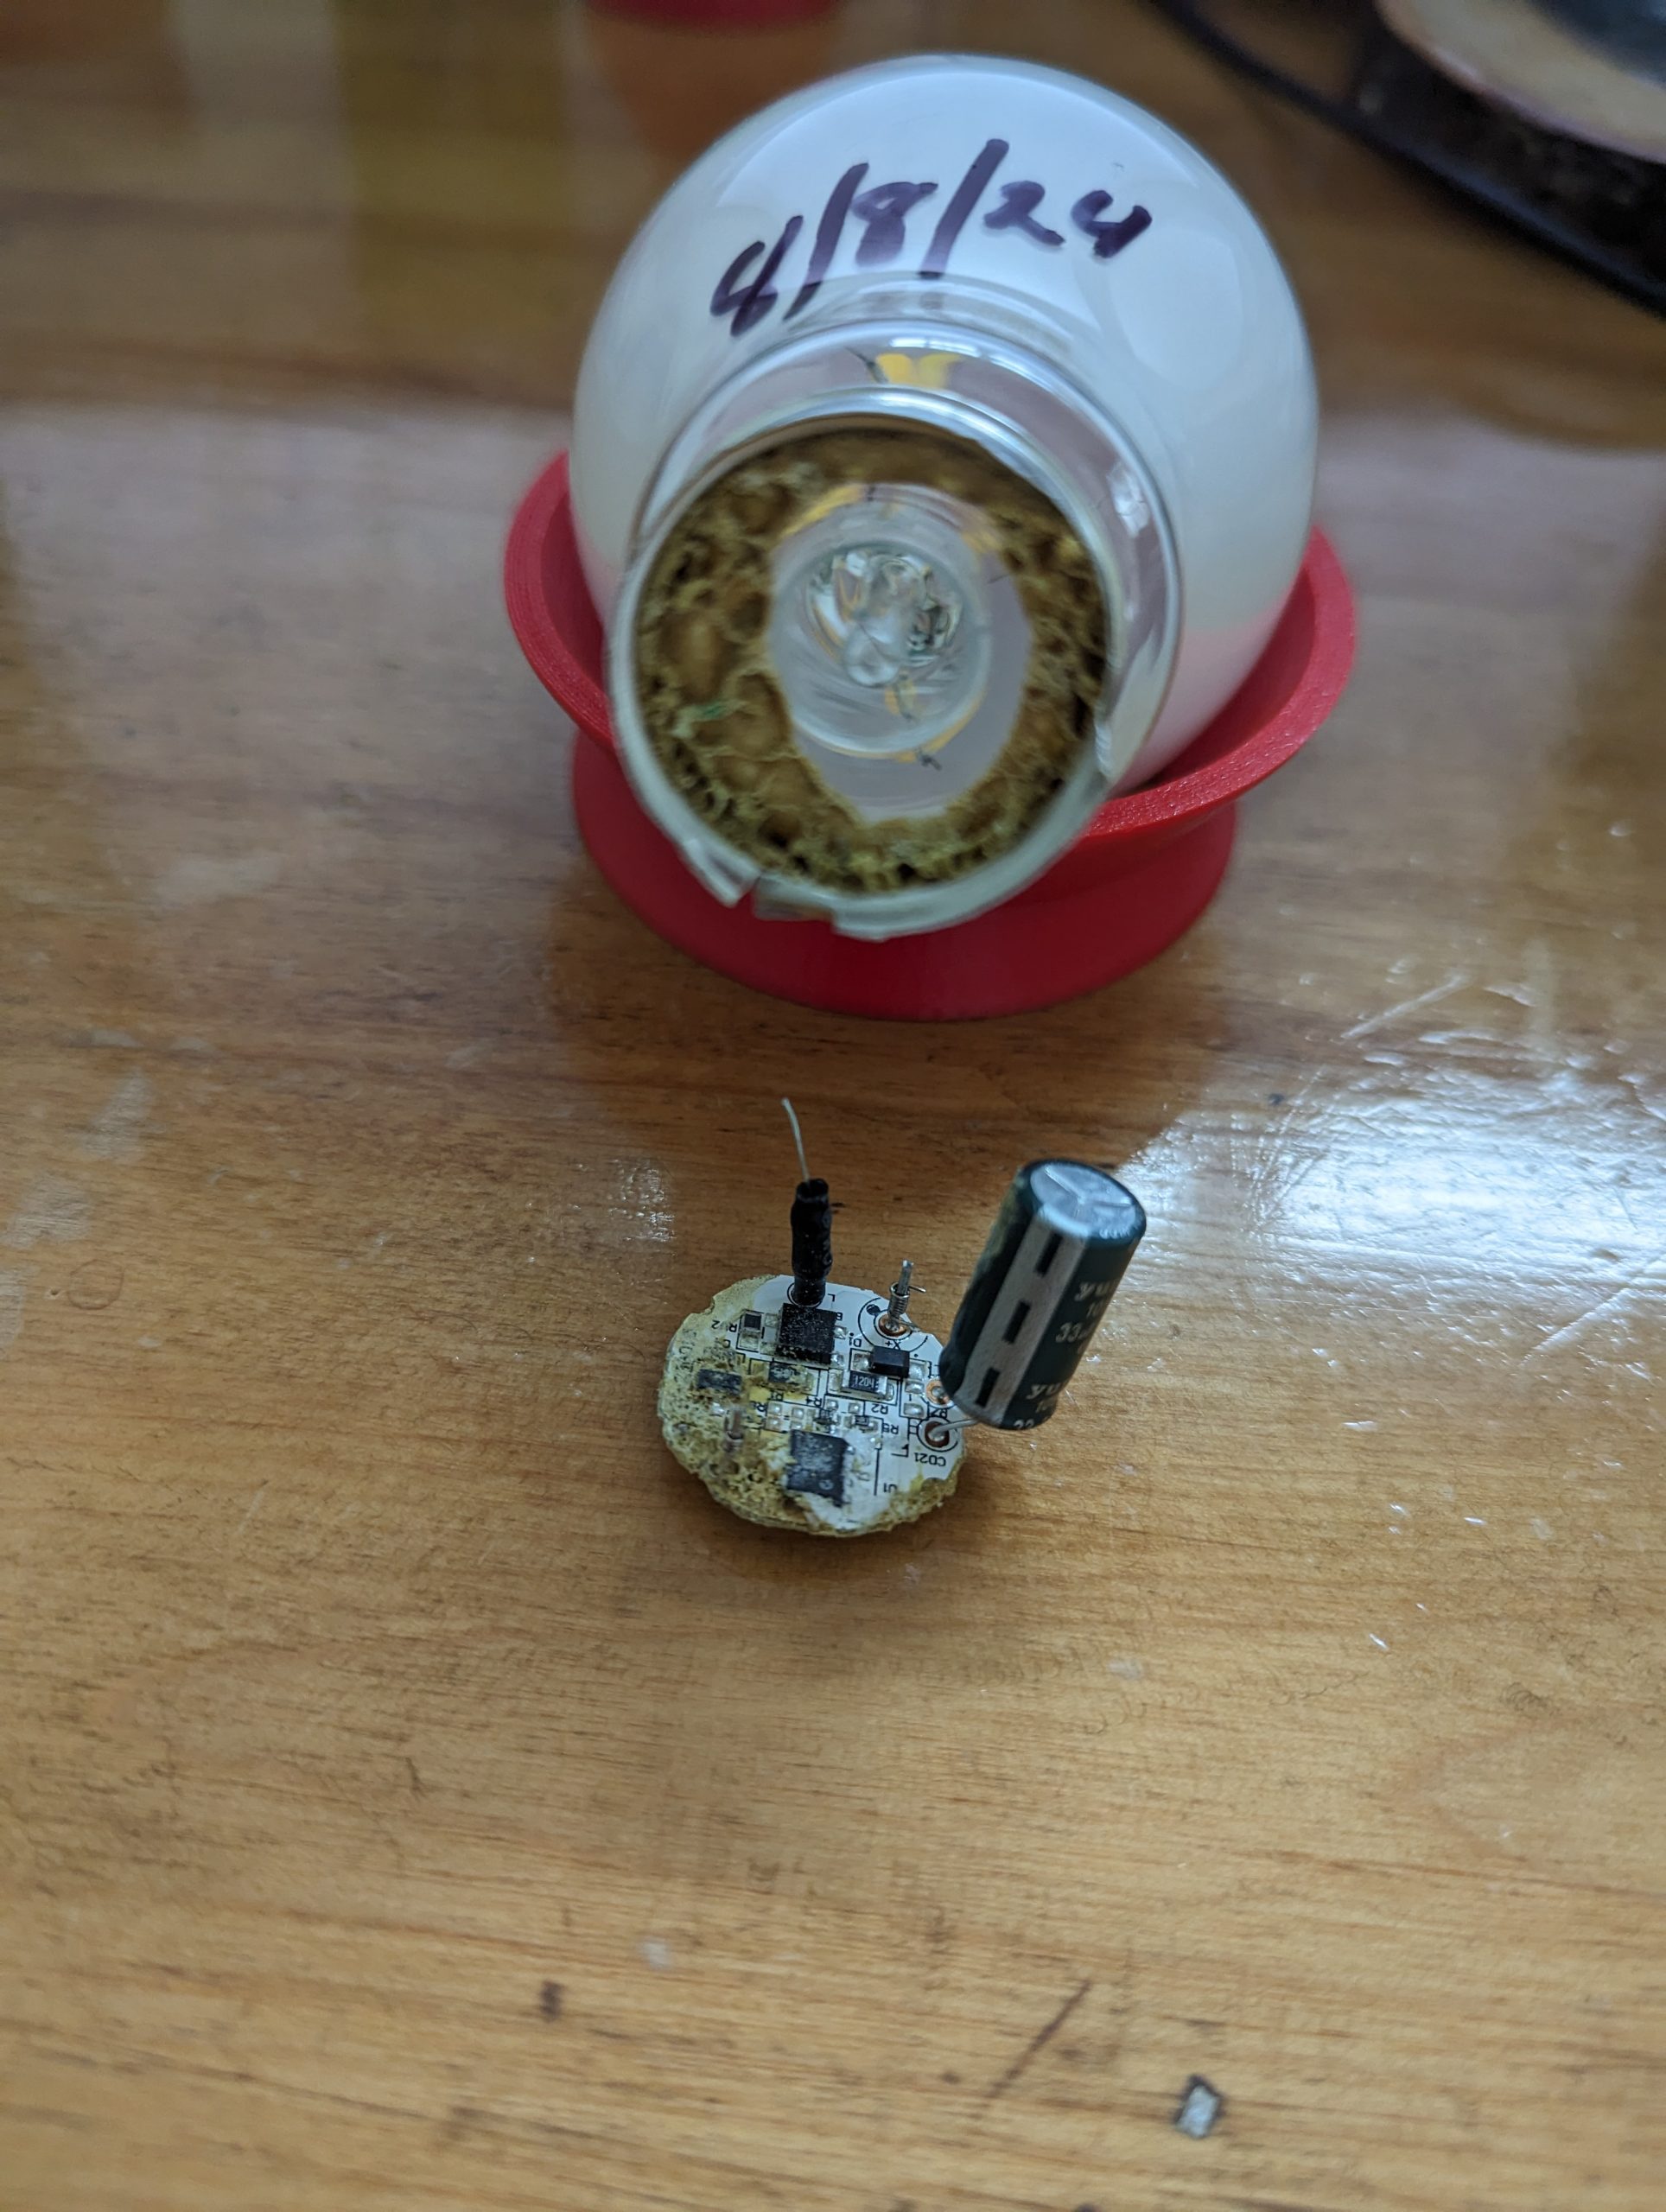
I decided to dismantle one of the failed bulbs and here is what I found.   To me the failure mode is obvious.  The glue used to attach the base to the bulb has flowed onto the heat-sensitive driver chips and covered them up preventing them from dissipating heat.

I’ve tried contacting Phillips Canada and I’m sure we’re all surprised to discover they could care less.
Update 10/15/24:

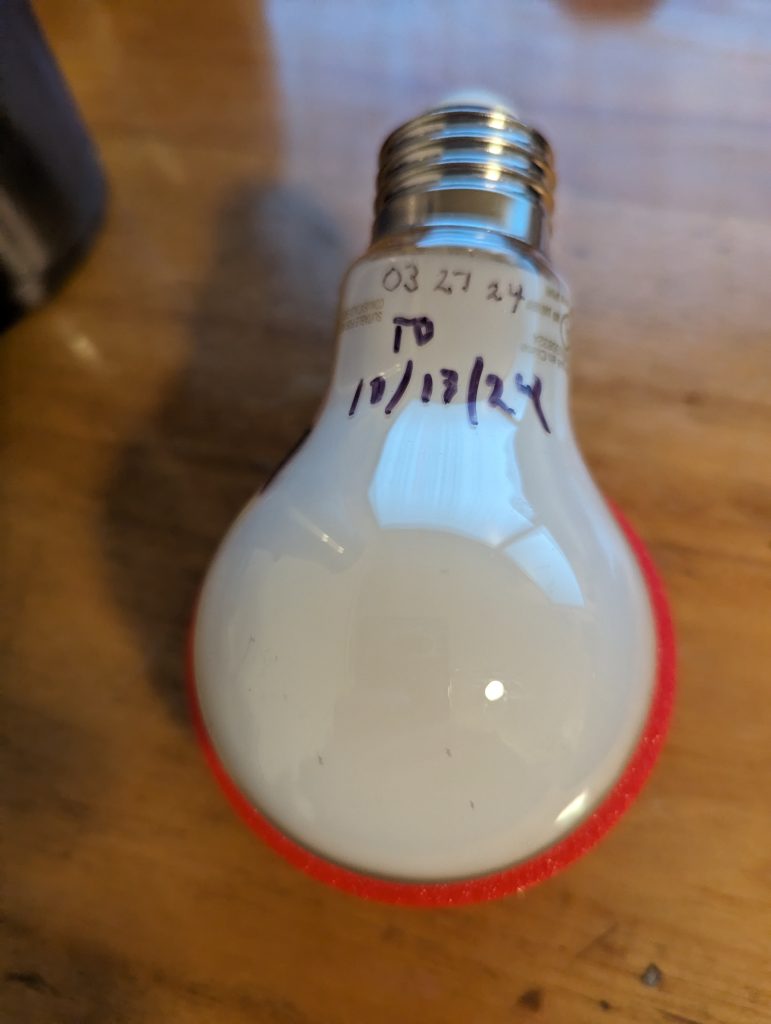
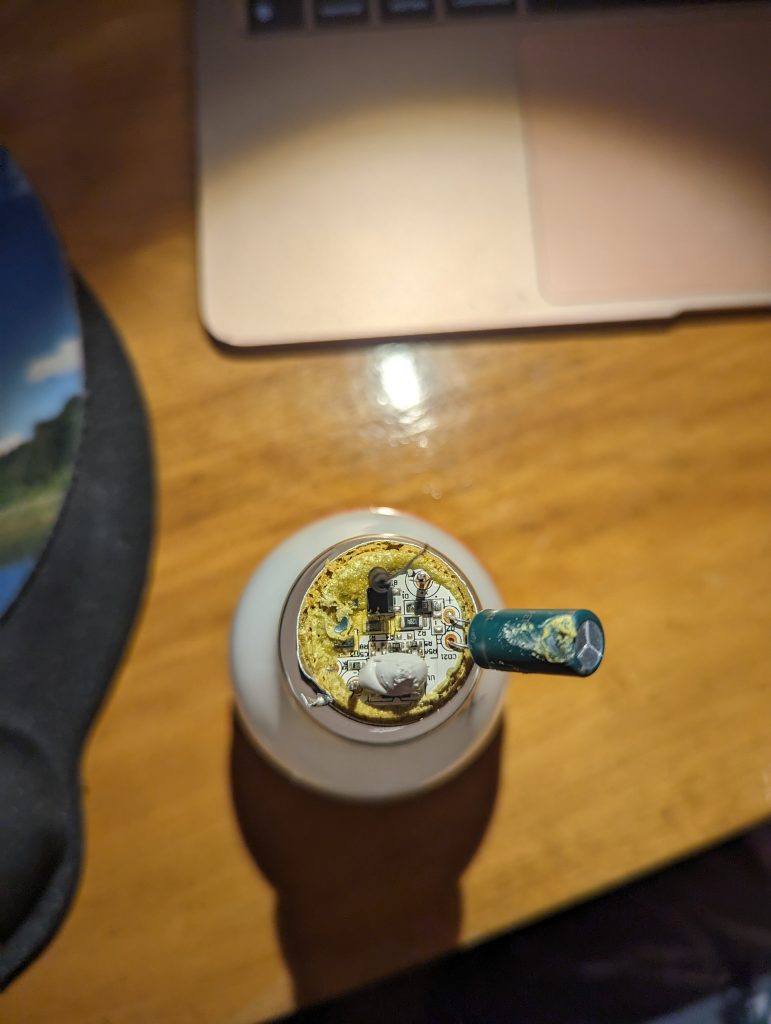
One of the bulbs in the other bathroom did fail. I thought it was one of the older style but when I pulled it, I realized it was one of the same as the others that are failing.   This one went in 03/27/2024 and lasted until 10/13/2024.  It lasted a lot longer (though still not the lifetime I’ve come to expect from an LED bulb). It appears to have the same over-gluing problem but it was clearly clocked a bit when the glue went on so it didn’t displace the thermal paste as it did on the above bulb.   Probably explains why the increased life.
Edit 02/12/2024

Had another of these bulbs fail.  This one was installed in 09/09/2024 and lasted until 02/10/2025.  Not quite a record and still pretty dismal.


I’ve since switched to Amazon Basics dimmable bulbs and haven’t had any failures but it’s only been around 3 months.  They’re also around half the price though.
Migrating from MediaWiki to Bookstack.

By   April 21, 2024

My long relationship with MediaWiki is over.  It’s been over for a while if I’m honest.

Anyway, there’s no trivial way to import MediaWiki data into Bookstack but here’s what I did:

  1. First I installed Bookstack.
  2. Then export MediaWiki data to xml:

    php maintenance/dumpBackup.php –current –include-files > /tmp/all_pages.xml

  3. Clone https://github.com/outofcontrol/mediawiki-to-gfm

    ./convert.php –filename=/tmp/all_pages.xml –output=/path/to/converted/files

  4. Find where your images went:

    php maintenance/dumpUploads.php

  5. Clone

    https://github.com/Yetangitu/bs

  6. Go to your bookstack implementation and get an API key.
  7. Follow the instructions for ‘bs’ to configure it with your API key.
  8. use ‘bs’ to create books/chapters/pages using the data from step 3.
  9. Upload the images from step 4.
  10. A bunch of manual cleanup and reorganizing.


This is not for the faint of heart but it’s also not difficult.  Just a bit tedious.