Some folks at work were talking about their radon detectors the other day. Since I’m a sucker for gathering data, I was curious and did some reading. I’m usually not one for crackpot science and ‘radon’ just sounds like it would fit right in.
The first link I get when I type “radon” into Google is the Health Canada website and the second is Wikipedia. Ok, maybe this isn’t so crackpot after all.
In short, radon is a colorless odorless gas. Why is it that everything that wants to kill us is either colorless and odorless or furry and brown? Radon is produced as a result of the decay of uranium which is in soil, rock and water. Normally it seeps out of the ground and dissipates in the air where it does us no real harm with a half-life of only 3.8 days (unlike furry brown things which don’t dissipate and have much longer half-lives). It can cause problems when it seeps out of the ground and is trapped, say, under the concrete slab in your basement looking for a way in. Once inside the living space of your home, when radon is inhaled, it breaks down further and emits an alpha particle, which I’ve read can strike a lung cell and cause cell death or worse, damage. If a cell is damaged in a particular way, it can cause cancer. As I am not a “nukular scientist” I won’t go into any more detail at the risk of confirming that I am a fool to those readers who already suspect it. Statistically, however, the data is clear: 16% of lung cancers in Canada are caused by radon, as compared with 83% caused by smoking (Health Canada).
If the radon is under the floor of your basement, how does it get into the house? Unfortunately, it’s a very sneaky gas. It can seep right through concrete but usually prefers to enter through cracks or the seams between your basement walls and floor; or any openings like those left for plumbing cleanouts. As many of you know, we spent about five years renovating our Bergen home which included sealing it from top to bottom and adding a heat exchanger to keep the air fresh while reducing the amount of lost energy. Normally when it’s cold outside and your furnace comes on to heat your cold toes, that warm air rises and looks to escape through your ceiling (stack effect)… Even the wind blowing on one side of your home can create a lower pressure area on the other side of your home pulling valuable warm air from inside the house. All of that escaping air creates a slight negative pressure in your home and must be replaced by air from elsewhere. Since most of our homes are relatively well sealed, that makeup air has to come from somewhere so it gets pulled from the under slab in your basement through the cracks and openings I mentioned above.
At first I thought I would measure the radon in our home. We have a heat recovery ventilator and I figured that since the air is being exchanged quite frequently, it would not be an issue. So I bought an electronic radon detector for about $250 and put it in the basement. There are a few different varieties of detectors. The less expensive ones are the type you put in your basement for three to six months and then mail away to a lab where they are analyzed and the results mailed back to you. These can be had for approximately $20 but I wanted something a little more interactive so I went with the electronic version that can give a very approximate number within 24 hours and more accurate data as time goes on.
In Canada, radon is measured using “becquerels per cubic meter”. The World Health Organization recommends a national guideline of 100 bq/m3. Health Canada has set our guideline at 200 bq/m3.
Within 24 hours, the first reading that came back from our detector was 446 bq/m3. Since this is a very rough number as a first reading, I decided to give it a week to get something closer to accurate. Well, seven days later, the reading was substantially higher: 1031 bq/m3.

More than five times what Health Canada recommends as the upper limit, and more than ten times what the World Health Organization recommends.
I decided then that it was time to do something. My goal was to get our readings below 100 bq/m3. I read up on mitigation methods and it looked promising. The best way to mitigate the problem is before the house is built but obviously that’s not an option for us, so I had to look at a retrofit solution. It turns out the way this is done is by installing a fan outside the home (or in the attic) to suck air through a hole in the concrete slab and blow it up and away from the home. The theory is that the gravel underneath your basement floor is fairly porous, so even creating a negative pressure zone in one corner will eventually suck the radon from all over the slab. Normally a radon contractor will be happy to come into your home and install such a thing for $3000 or so. In our case, a plumber already left a convenient hole in our floor exposing the gravel at the bottom through which we were mining for radon.
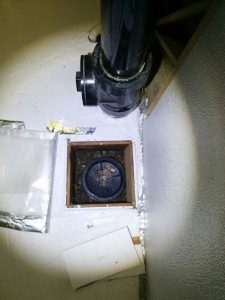
I knew that I could probably seal the hole and maybe reduce the radon levels a bit but I also suspect that it wouldn’t be significant enough given the various effects of air pressure during the heating months or windy months. I like to think I’m a fairly handy guy (how did Red Green put it? “If the women don’t find you handsome, at least let them find you handy!”), I decided the right thing to do was to follow the recommended mitigation method and install the fan. The fan itself was $300 plus another $100 in PVC pipes and fittings. The fan needs to be mounted outside of the living space. You don’t want it inside the living space because the other side of the fan is pushing high concentrations of radon gas and a small leak will have you back to mining for radon again. It took about 6 hours of work but I finally had the fan hooked up outside the house and powered it up for the first time. I reset the detector and waited.
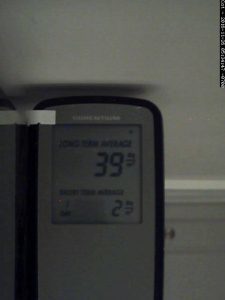
24 hours later, the first reading came in. 38 bq/m3. I was cautiously optimistic. A week later, it read 2 bq/m3.
Now the drawbacks. The fan is fairly loud when it’s running; especially at the top of the 4″ PVC pipe that’s sticking up the side of the house. It’s also fairly ugly. While the fan is fairly energy efficient, it does consume 82 watts which is about $50/year in electricity.
Over the next year, I’m going to experiment by running the fan periodically. I’ll start with a 50% duty cycle and adjust up or down depending on the readings. Since the fan noise isn’t significant inside the house, I’ll start by running it primarily at night and less during the day. Ideally, I would have one of the very expensive detectors that can hook to a computer so I can add some more intelligent automation behind the process as is my nature. I suspect I’ll be able to get by with running the fan far less during the summer ‘window open’ months. Only the data will tell me.
Now back to figuring out what piece of technology will let me address the furry brown things.


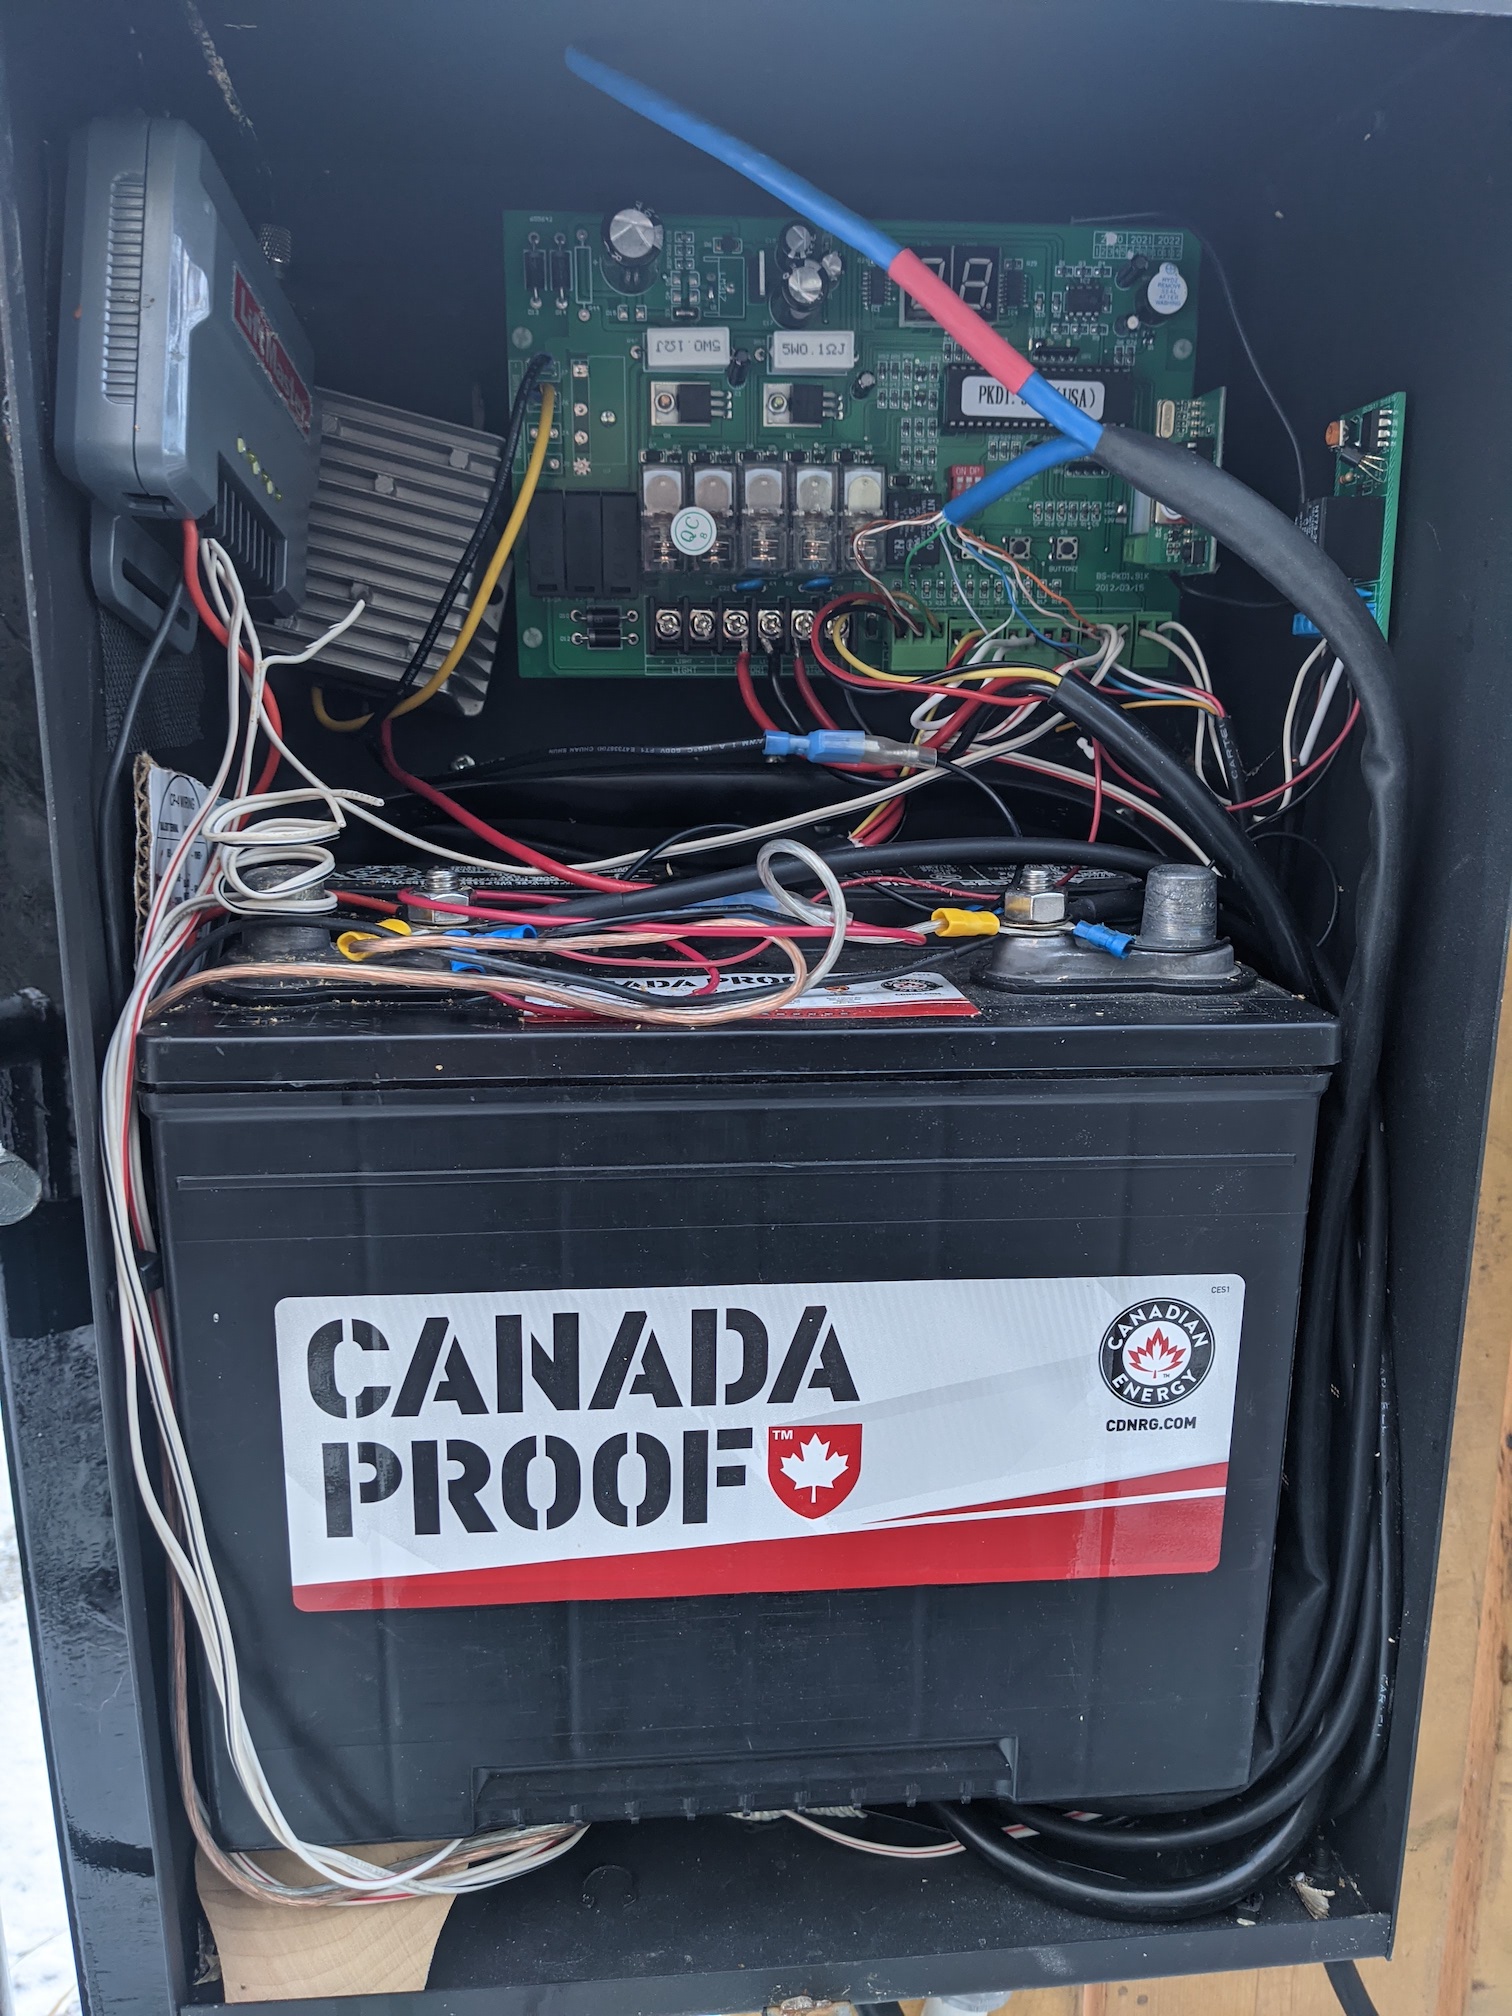
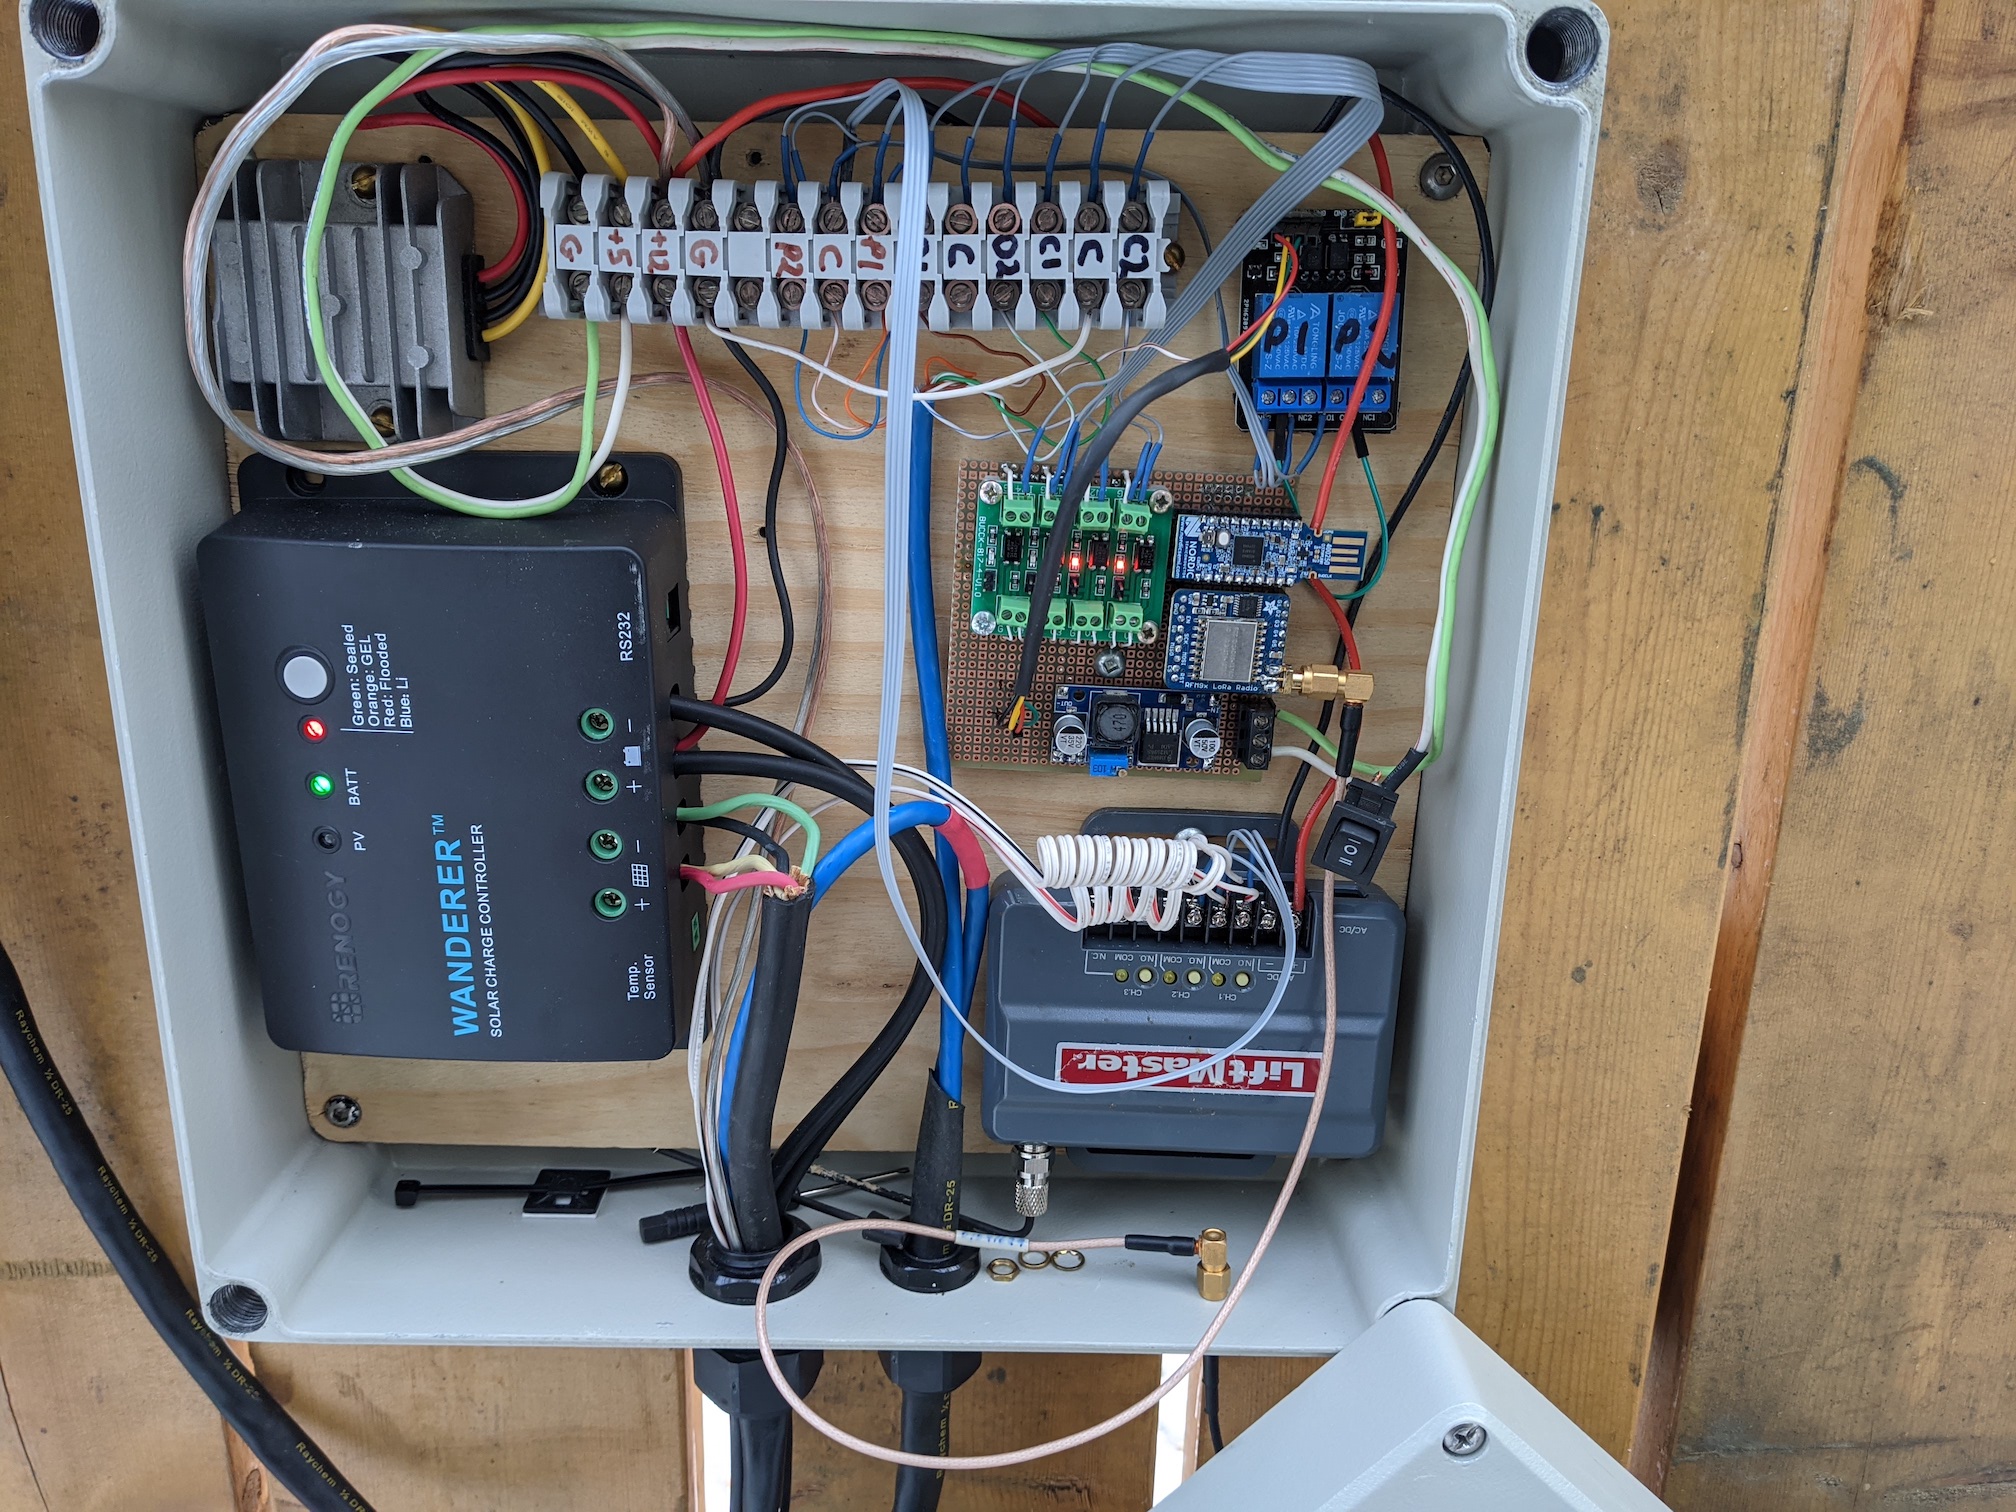 There must be a better way. The heart of the system is the COTS controller board which is really just a couple of H bridges, some current sensing, limit switch inputs and push button inputs. Time to start experimenting.
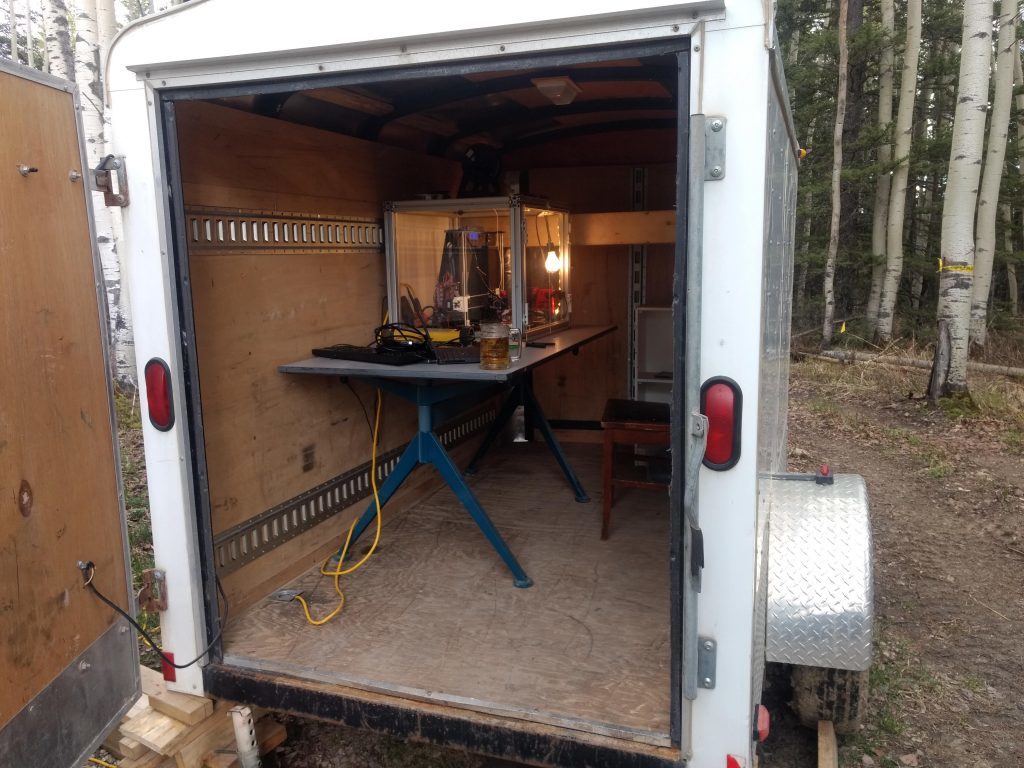


 I have lots more stuff to put in and set up but at least it’s functional now.