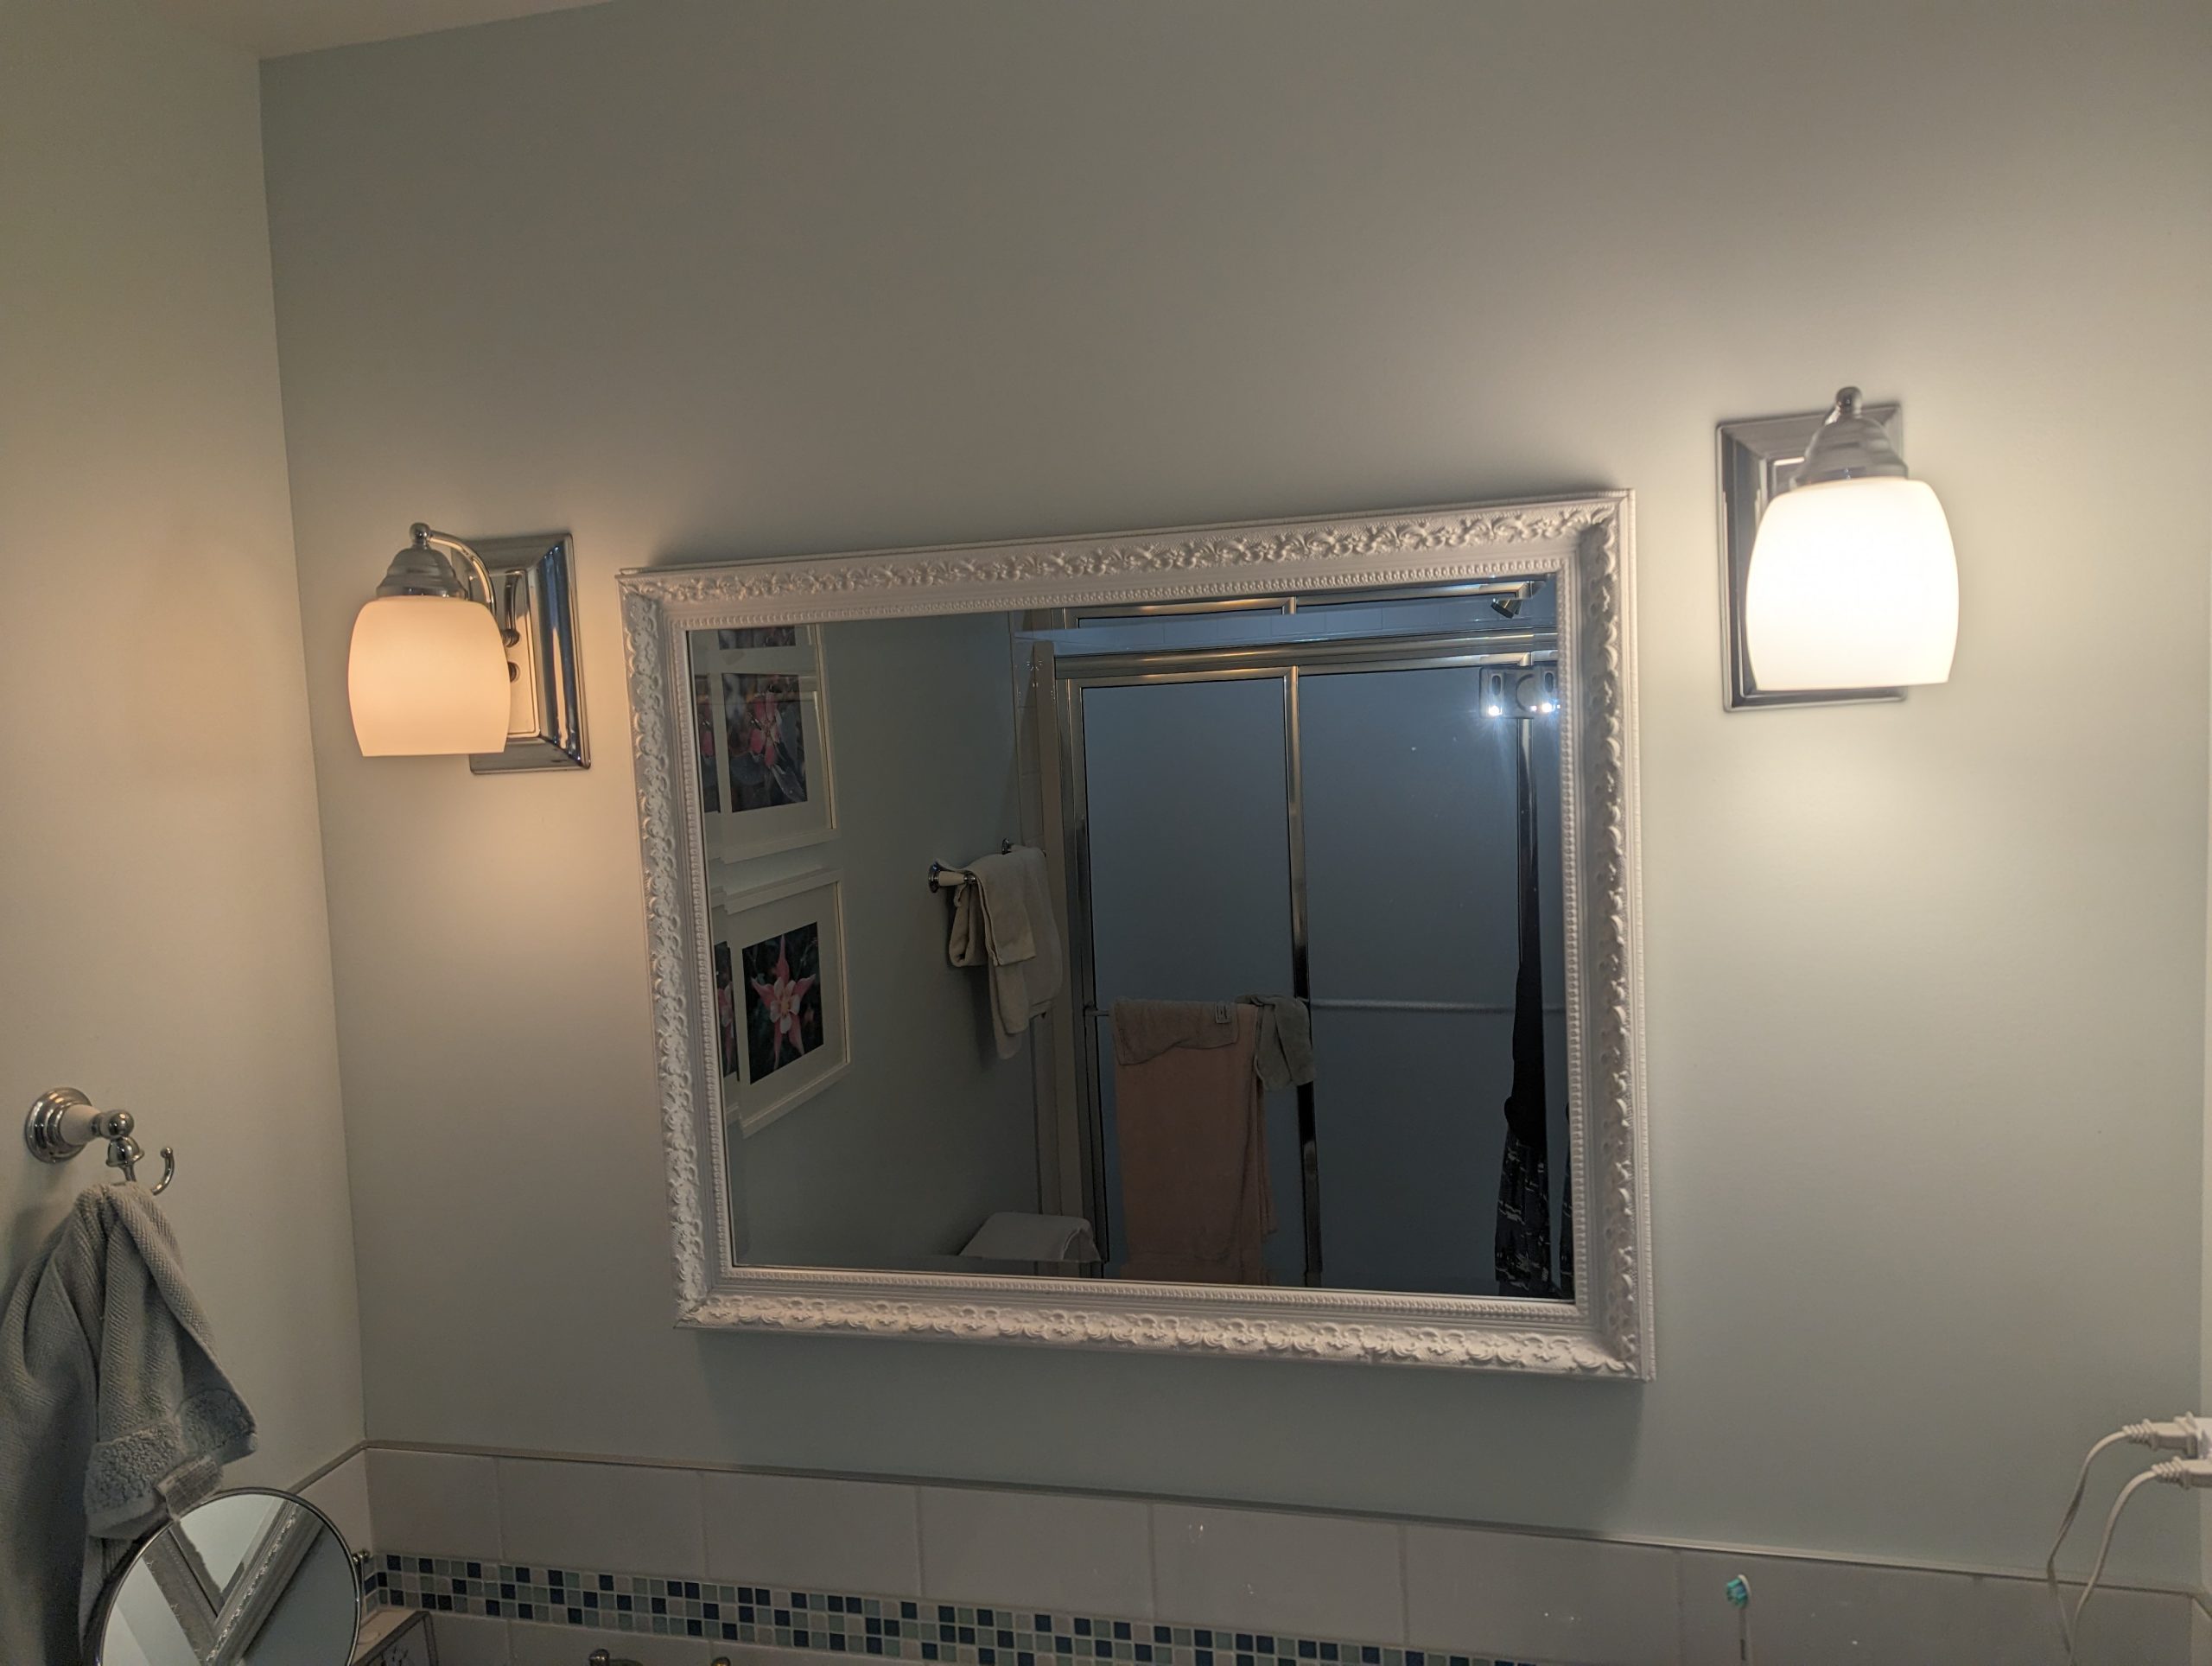
Our bathrooms have dimmable LED bulbs in open fixtures. One of the bathrooms has been experiencing bulb failures after a very short period of time. I started tracking the failures and it’s approximately 3-4 weeks between failures. The failure mode is the bulb will suddenly become very dim and possibly occasionally flicker; even at full brightness setting.
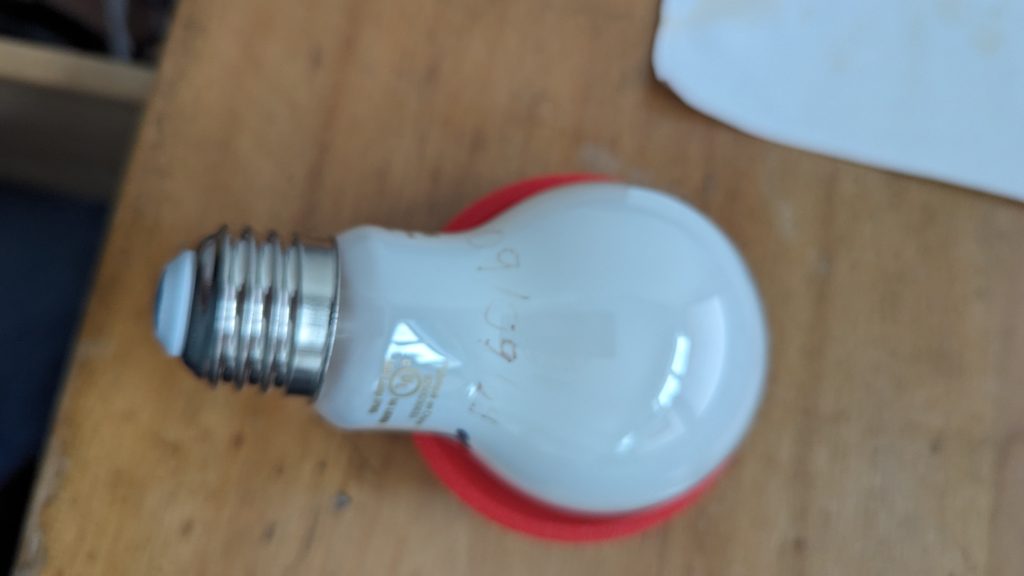
I tried changing the dimmer (from a Leviton LED compatible to a Lutron LED compatible) and that didn’t prolong the bulb life. I started marking the bulbs with sharpie when I installed them and the last 3 bulbs failed on:
- 7/18/2024
- 8/8/2024
- 9/10/2024
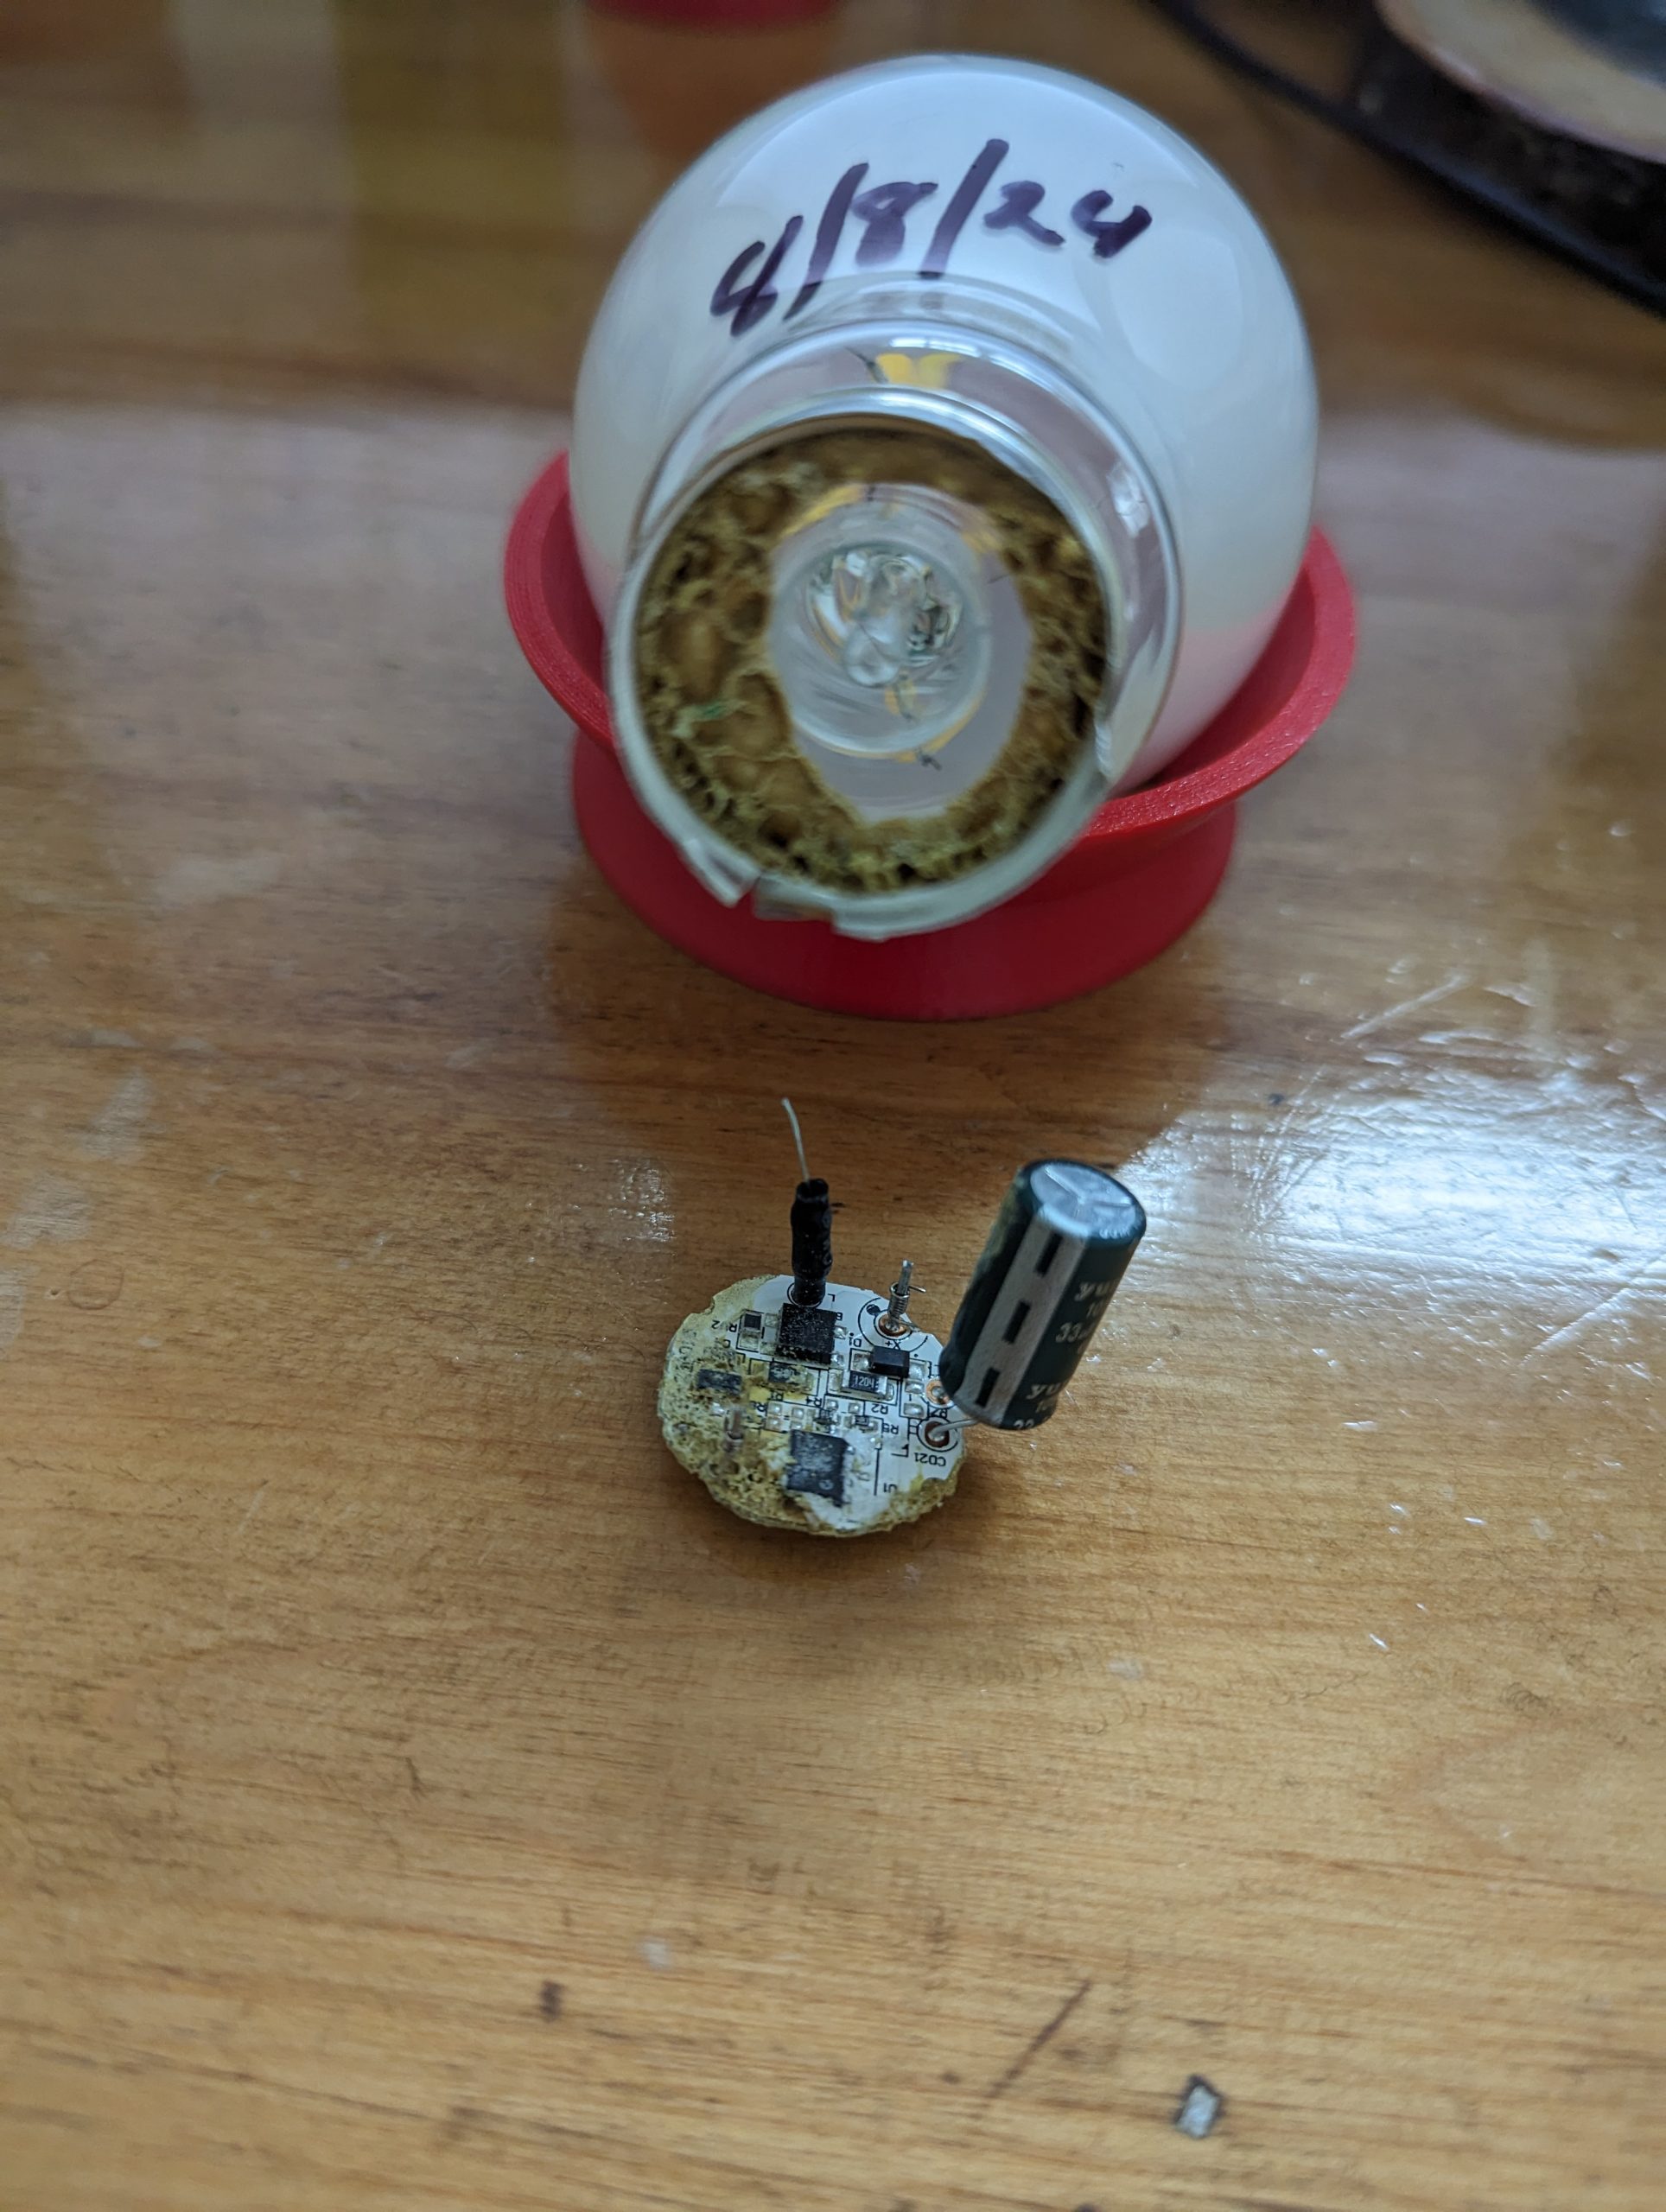
![]()
The two bathrooms have the same fixtures and dimmers so why was it only in one bathroom that this started happening? Turns out because the other bathroom also has Phillips dimmable bulbs but they’re an older model. (The type that has a plastic base with a plastic globe glued to the base). The new type are all glass so the electronics are inside the edison fixture.
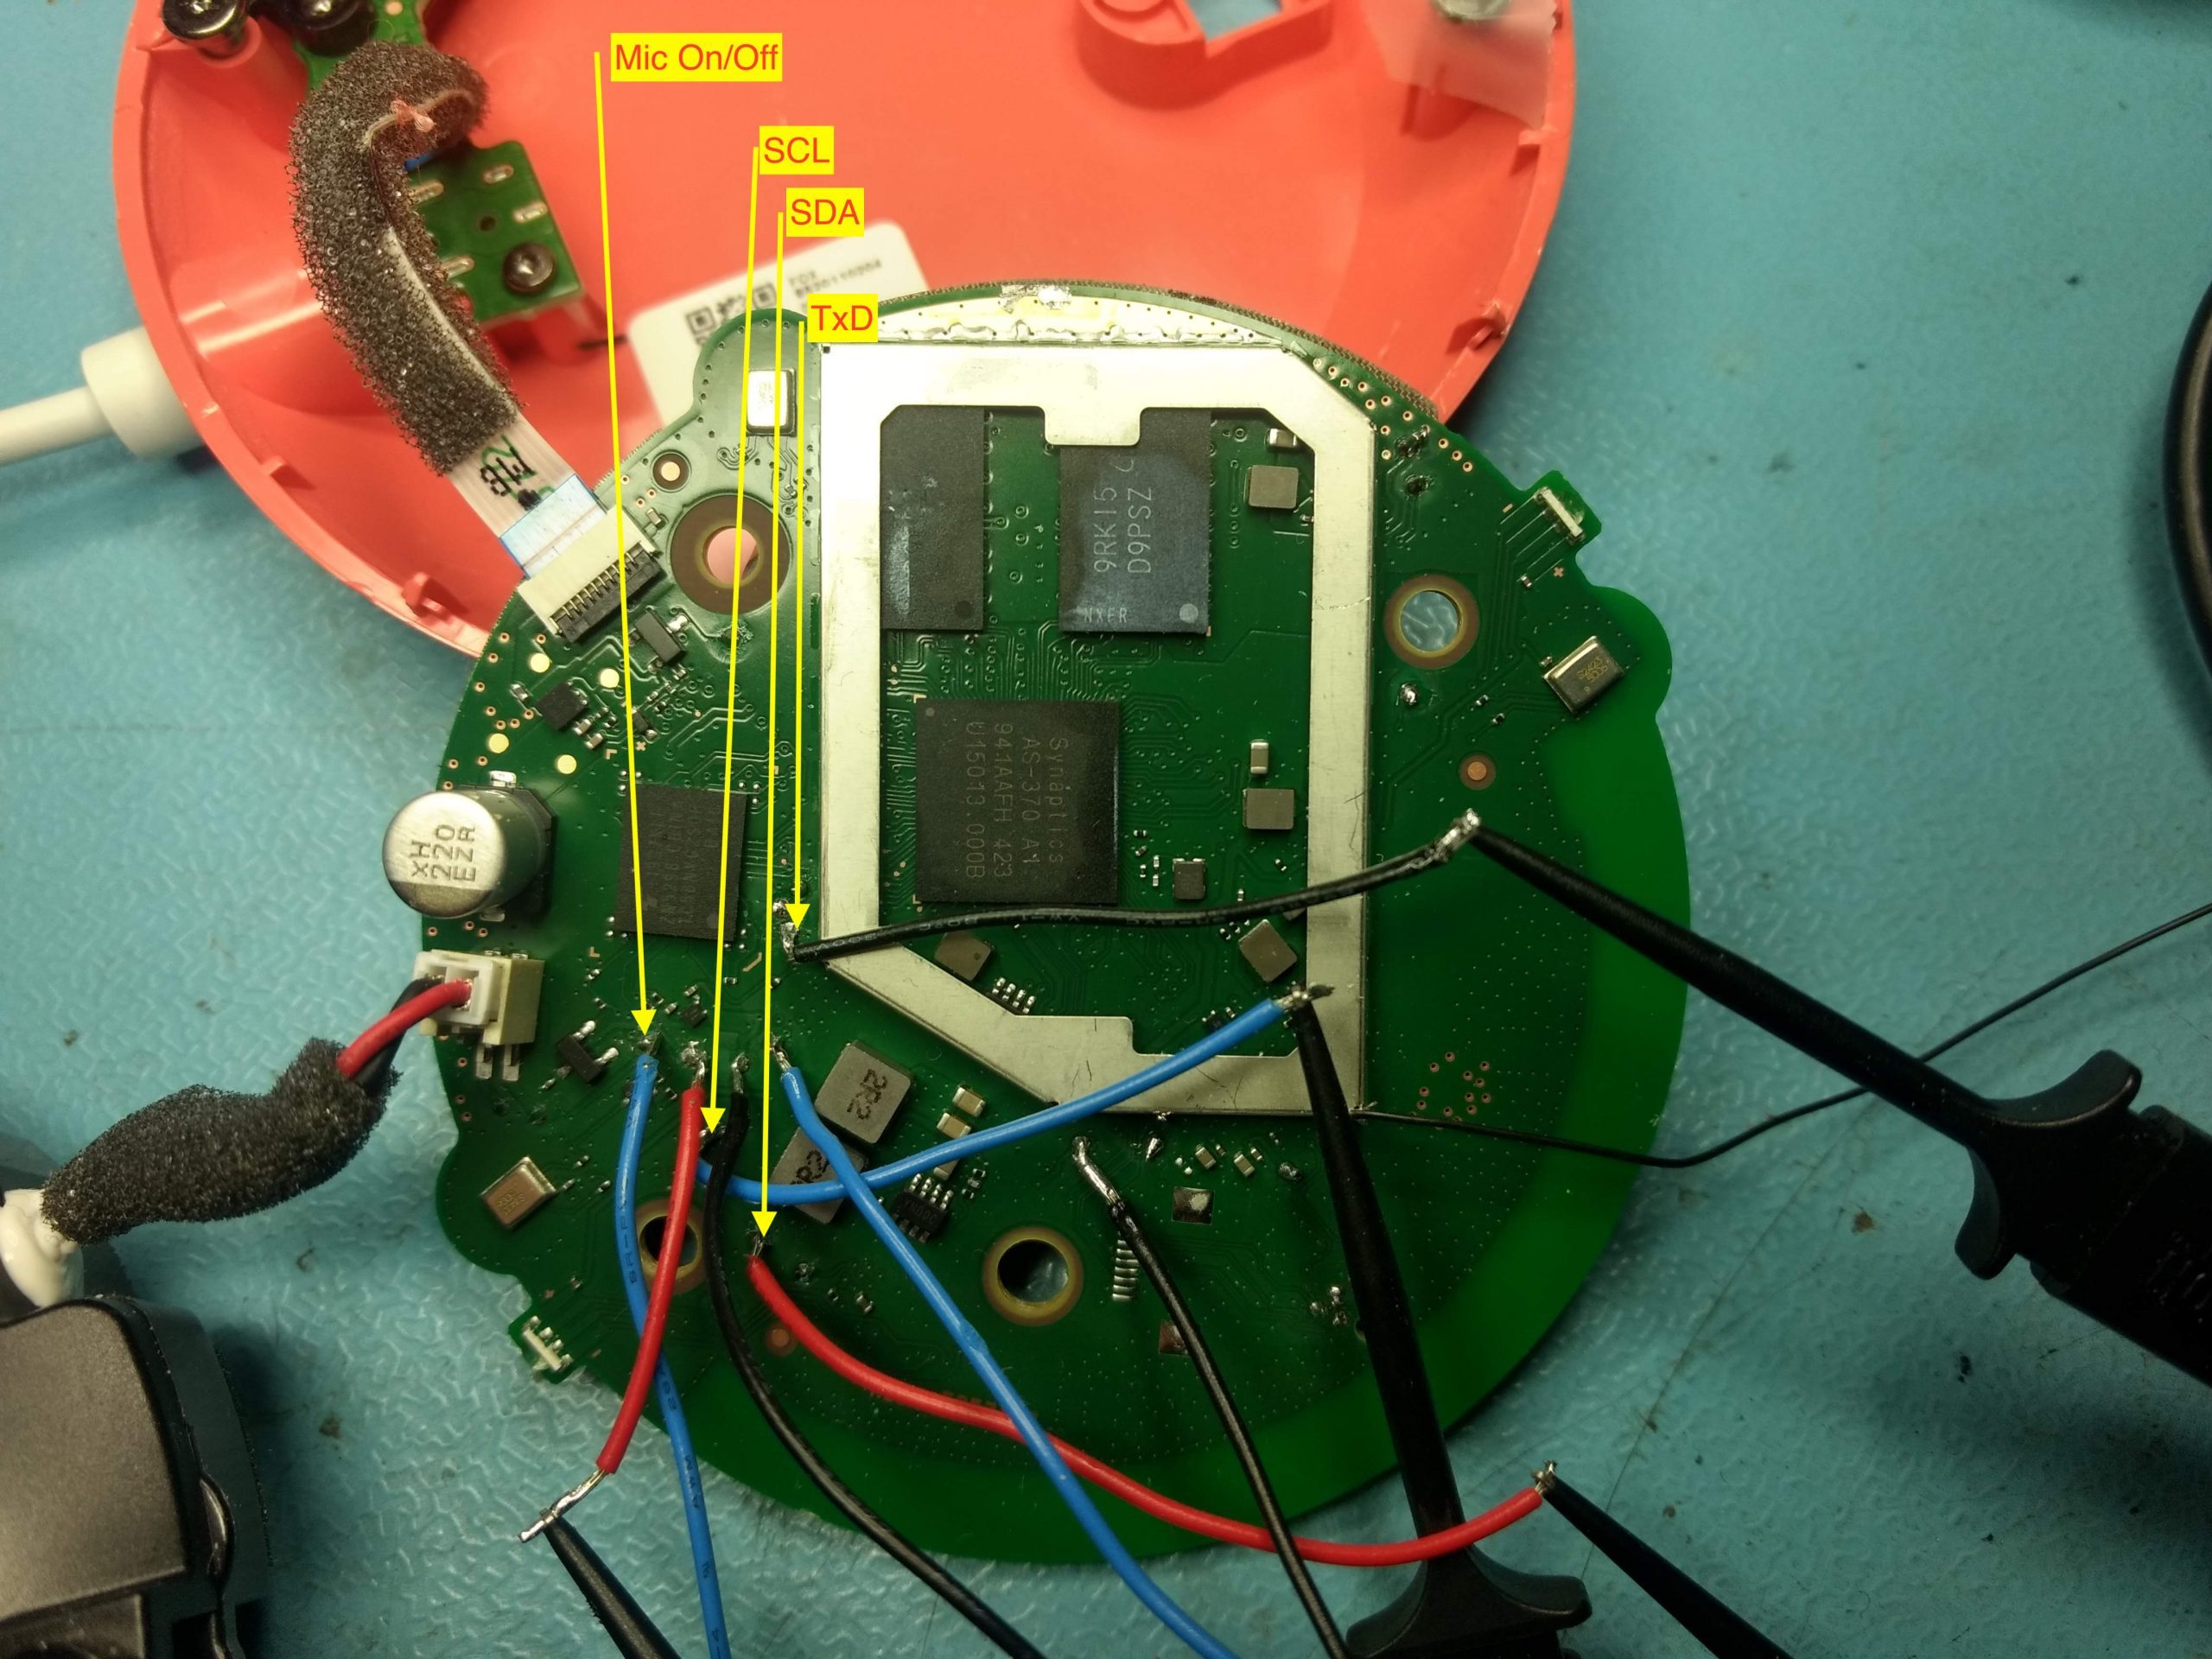
I decided to dismantle one of the failed bulbs and here is what I found. To me the failure mode is obvious. The glue used to attach the base to the bulb has flowed onto the heat-sensitive driver chips and covered them up preventing them from dissipating heat.
I’ve tried contacting Phillips Canada and I’m sure we’re all surprised to discover they could care less.
Update 10/15/24:
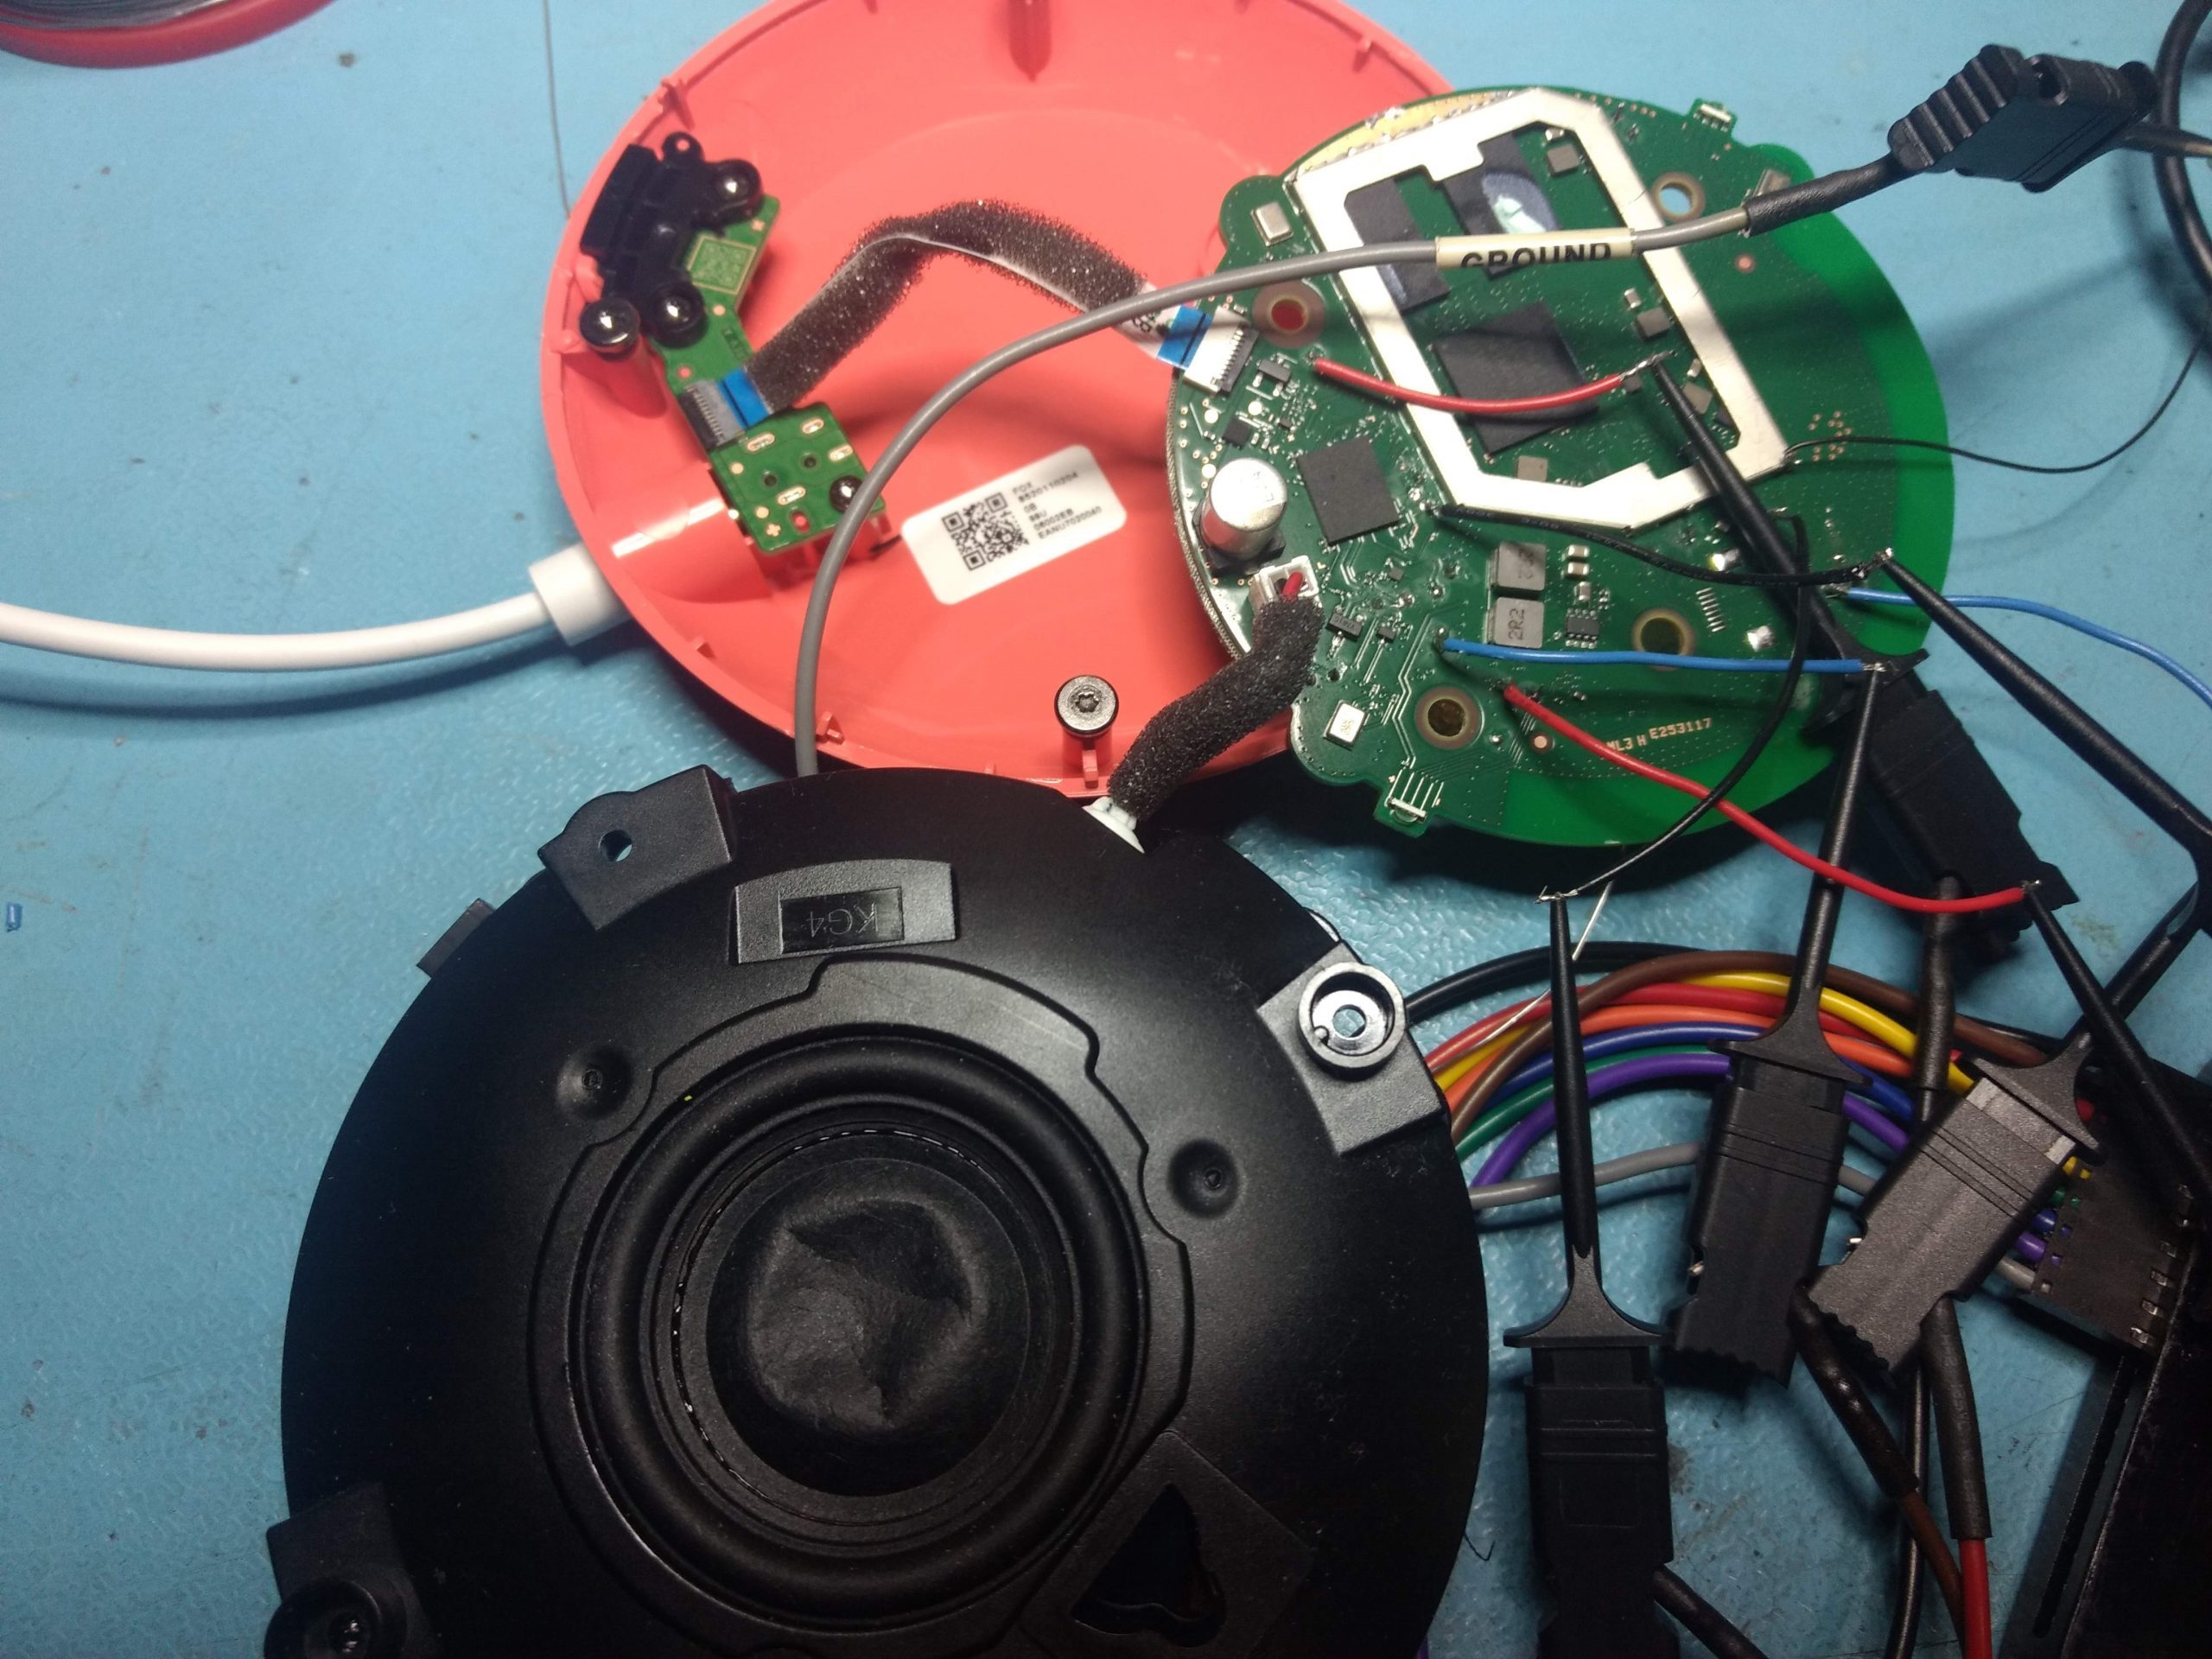
One of the bulbs in the other bathroom did fail. I thought it was one of the older style but when I pulled it, I realized it was one of the same as the others that are failing. This one went in 03/27/2024 and lasted until 10/13/2024. It lasted a lot longer (though still not the lifetime I’ve come to expect from an LED bulb). It appears to have the same over-gluing problem but it was clearly clocked a bit when the glue went on so it didn’t displace the thermal paste as it did on the above bulb. Probably explains why the increased life.
![]()
![]()
Edit 02/12/2024
Had another of these bulbs fail. This one was installed in 09/09/2024 and lasted until 02/10/2025. Not quite a record and still pretty dismal.
I’ve since switched to Amazon Basics dimmable bulbs and haven’t had any failures but it’s only been around 3 months. They’re also around half the price though.
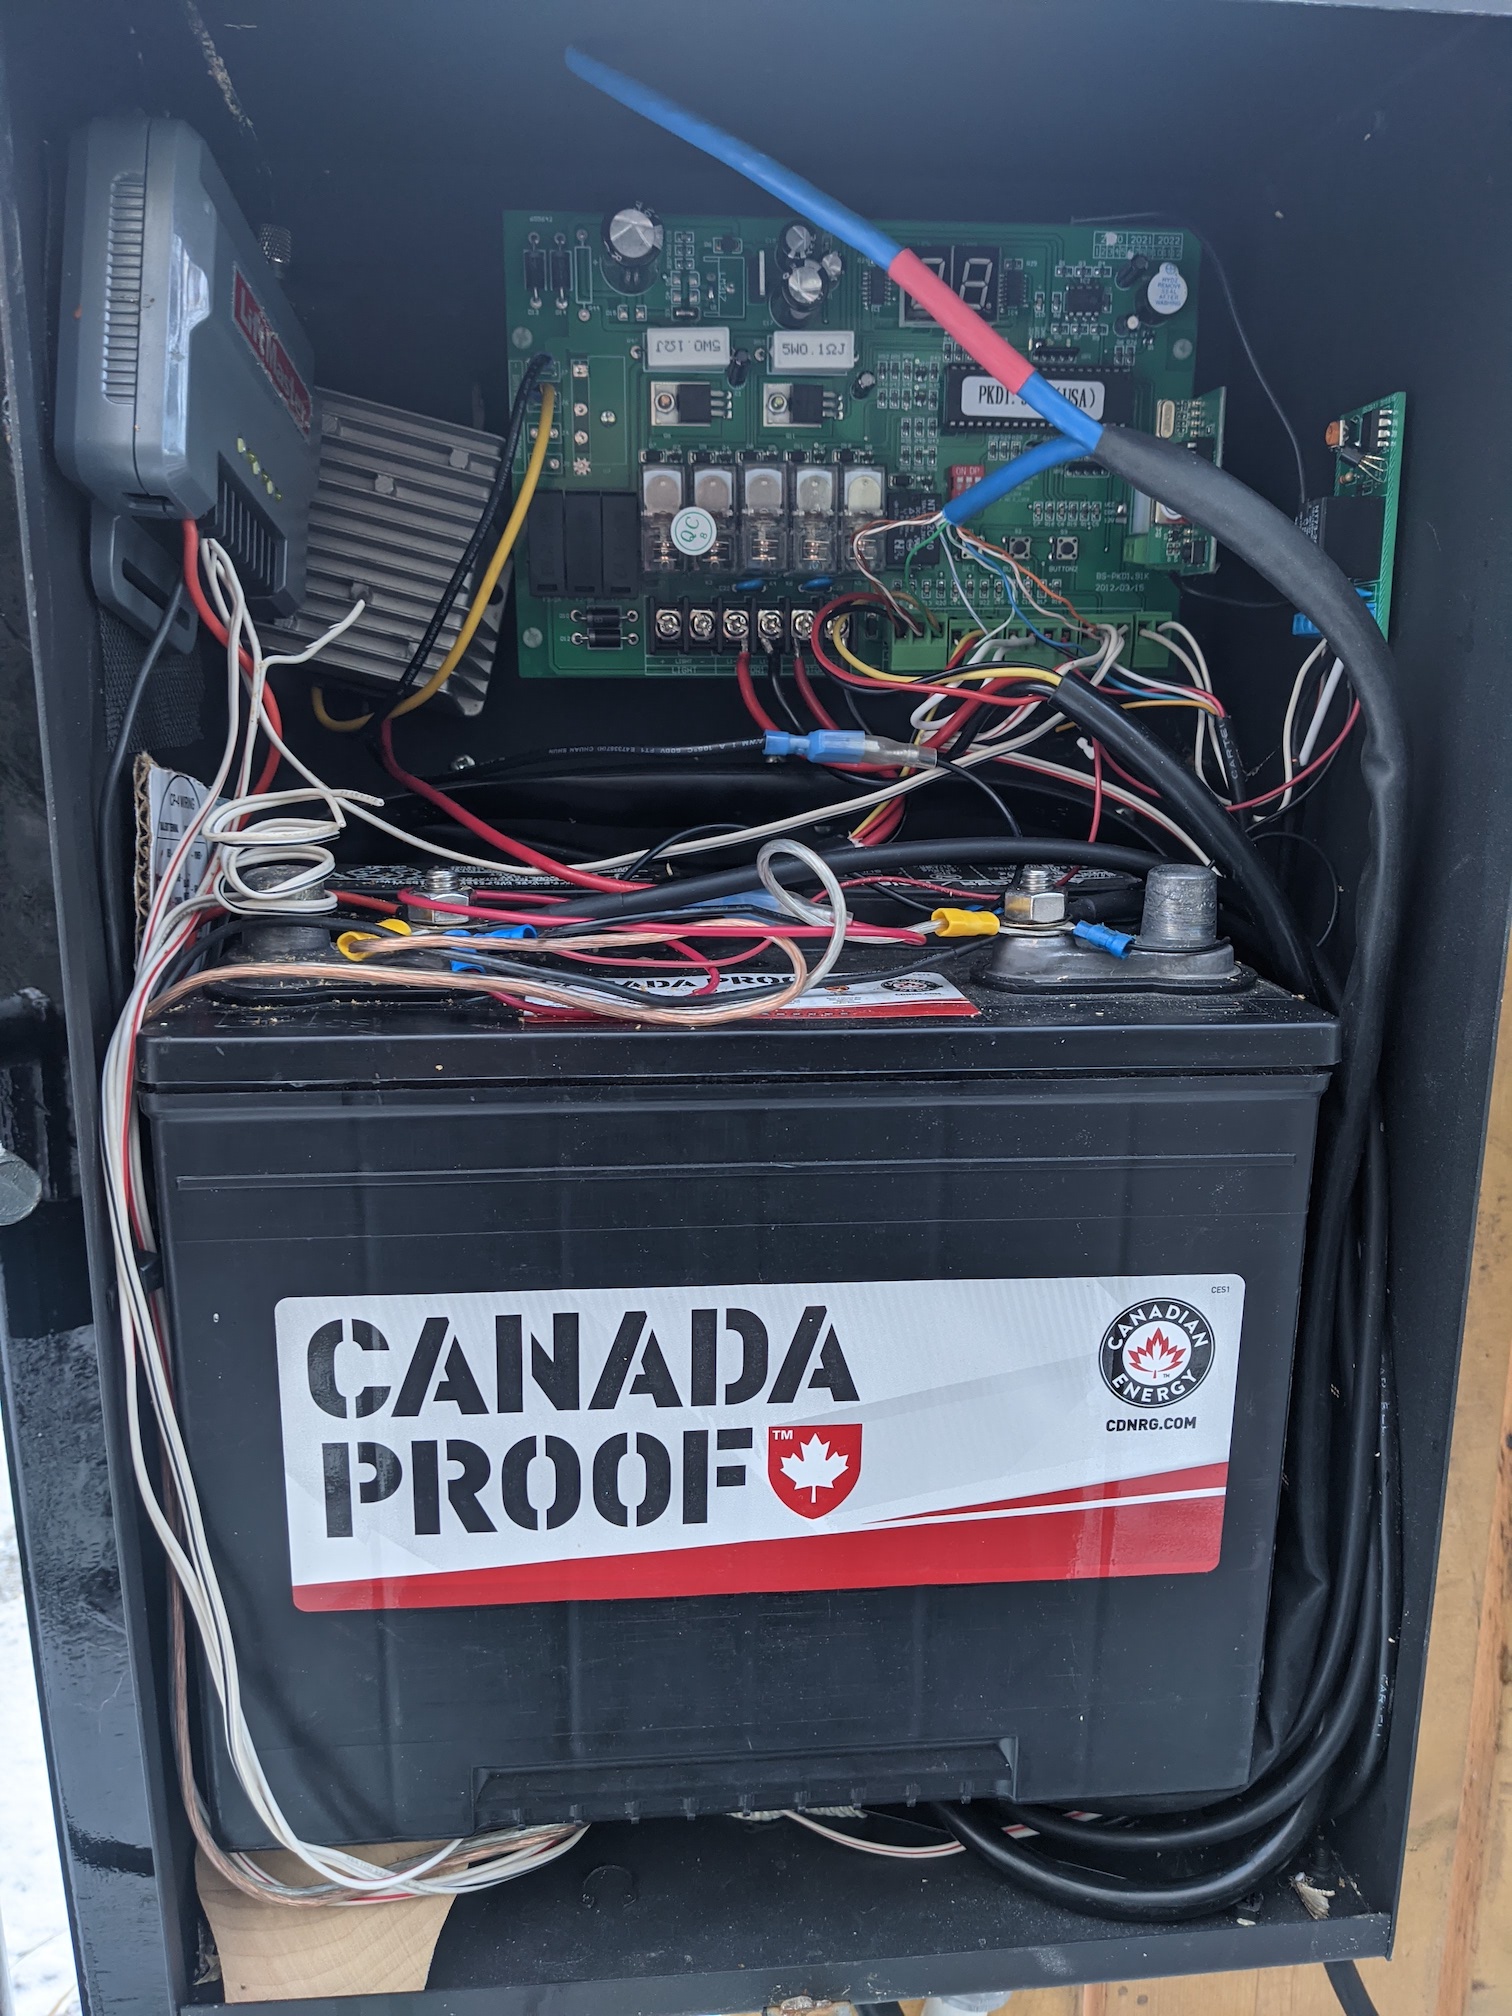
 There must be a better way. The heart of the system is the COTS controller board which is really just a couple of H bridges, some current sensing, limit switch inputs and push button inputs. Time to start experimenting.
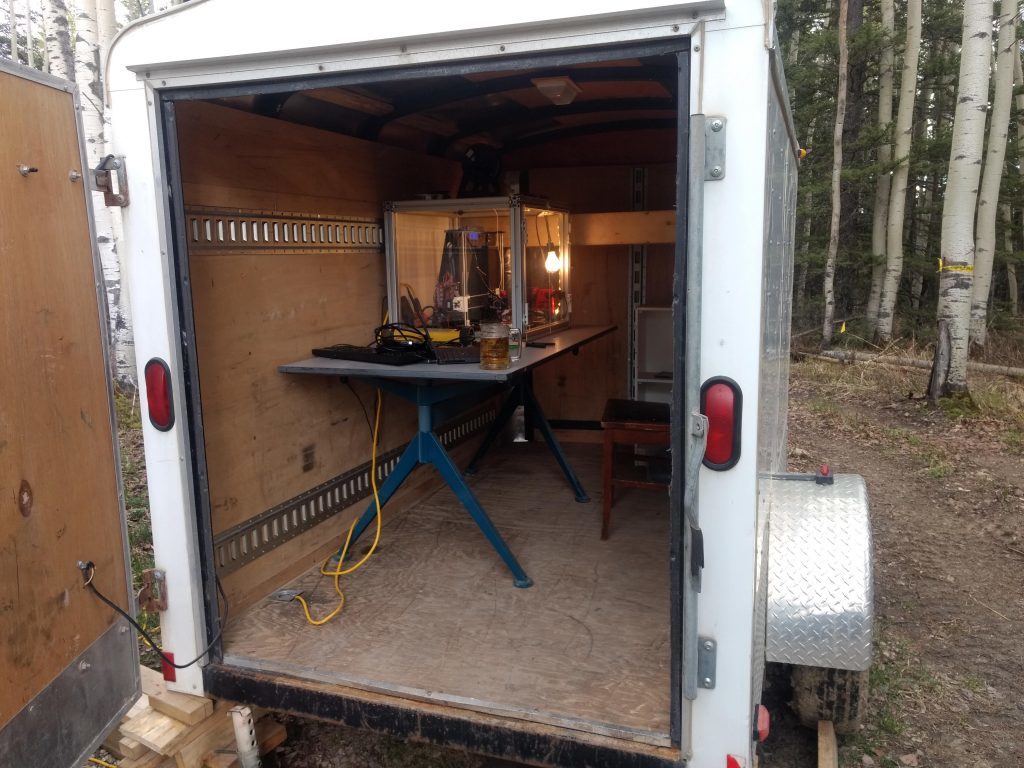


 I have lots more stuff to put in and set up but at least it’s functional now.